Effects
Effects are used in OpenShot to enhance or modify the audio or video of a clip. They can modify pixels and audio data, and can generally enhance your video projects. Each effect has its own set of properties, most of which can be animated over time, for example varying the Brightness & Contrast of a clip over time.
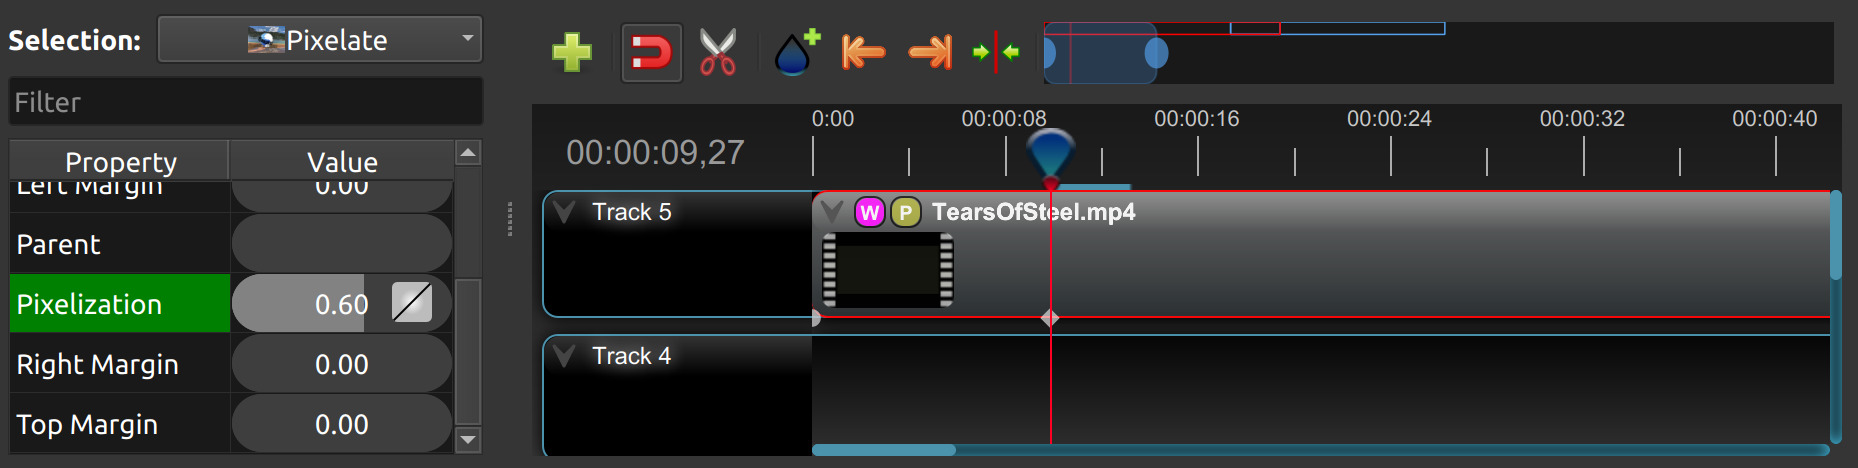
Effects can be added to any clip by dragging and dropping them from the Effects tab onto a clip. Each effect is represented by a small colored icon and the first letter of the effect name. Note: Pay close attention to where the play-head (i.e. red playback line) is. Key frames are automatically created at the current playback position, to help create animations quickly.
To view an effect’s properties, right-click on the effect icon, revealing the context menu, and choose Properties.
The property editor will appear, where you can edit these properties. Properties appear alphabetically in the dock,
with filter options available at the top. Hold Ctrl and click multiple
effect icons to select them all, the Properties dock will show an entry such as
3 Selections so you can adjust their common settings in one step. See Clip Properties.
Masks and Effects
All effects can now use a static or animated mask to limit where the effect is applied. This makes effects much more precise, because you can target only the subject or region you care about and blend the result smoothly into the original image.
Why this matters:
Keep edits focused on one area (for example, blur only a face).
Stack multiple effects on the same subject without affecting the full frame.
Animate how strongly or where an effect is applied over time.
How to use effect masks:
Add an effect to a clip.
Open the effect Properties.
Choose a Mask: Source (static image, animated mask video, Tracker, or Object Detector).
Adjust Mask Mode (for example, Limit to Mask or Vary Strength).
For quick rectangular masks, add a Tracker effect to the clip, draw a box around the area you want to affect, then choose that tracker as the Mask: Source for another effect, such as Blur or Pixelate. The tracker box can be moved or resized directly in the video preview while the Tracker effect is selected, and those box changes can be keyframed over time. Tracker boxes also work on static photos, so the same workflow can limit an effect to one region of an image.
High-quality animated masks can also be generated with Advanced AI workflows. In many cases, you can click one or more subjects and let tracking build a mask automatically. See Advanced AI: ComfyUI.
Mask controls to know:
Any effect mask can be inverted to flip between foreground and background.
Animated mask videos can be looped.
When looping, set start/end mask trim carefully. If not adjusted, OpenShot loops the entire mask source, not just the segment you intended to repeat.
To adjust a property:
Drag the slider for coarse changes.
Double-click to enter precise values.
Right/double-click for non-numerical options.
Effects with Margin: Left, Margin: Top, Margin: Right, and Margin: Bottom controls can also be
adjusted directly in the video preview. Select the effect, then drag the preview rectangle to move the affected
area, resize its handles, or draw a new rectangle inside the clip.
The same preview rectangle can be used to position Caption text. Select a Caption effect, then move or resize the white rectangle in the video preview to adjust the Caption margins.
Effect properties are integral to the Animation system. When you modify an effect property, a keyframe is generated at the current playhead position. For a property to span the entire clip, position the playhead at or before the clip’s start before making adjustments. A convenient way to identify a clip’s start is by utilizing the ‘next/previous marker’ feature on the Timeline toolbar.
List of Effects
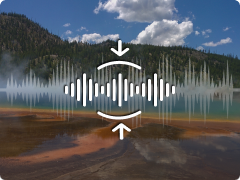
OpenShot Video Editor has a total of 43 built-in video and audio effects: 34 video effects and 9 audio effects. These effects can be added to a clip by dragging the effect onto a clip. The following table contains the name and short description of each effect.
Icon |
Effect Name |
Effect Description |
|---|---|---|
|
Alpha Mask / Wipe Transition |
Grayscale mask transition between images. |
|
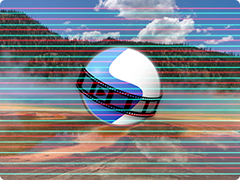
Analog Tape |
Vintage home-video wobble, bleed, and snow. |
|
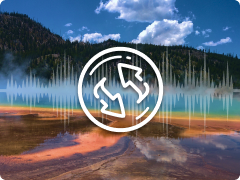
Audio Visualization |
Render waveform, spectrum, and other transparent audio visualizations. |
|
Bars |
Add colored bars around your video. |
|
Beat Sync |
Generate audio-reactive color flashes for compositing. |
|
Blur |
Adjust image blur. |
|
Brightness & Contrast |
Modify frame’s brightness and contrast. |
|
Caption |
Add text captions to any clip. |
|
Chroma Key (Greenscreen) |
Replace color with transparency. |
|
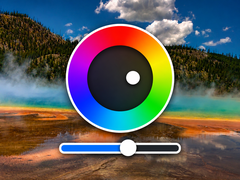
Color Grade |
Unified grading with corrections, curves, wheels, and LUT support. |
|
Color Map / Lookup |
Adjust colors using 3D LUT lookup tables (.cube format). |
|
Color Saturation |
Adjust color intensity. |
|
Color Shift |
Shift image colors in various directions. |
|
Compressor |
Reduce loudness or amplify quiet sounds. |
|
Crop |
Crop out parts of your video. |
|
Deinterlace |
Remove interlacing from video. |
|
Delay |
Adjust audio-video synchronism. |
|
Denoise Image |
Reduce visible grain and color speckles in video frames. |
|
Displacement Map |
Use a grayscale image or video to warp the frame. |
|
Distortion |
Clip audio signal for distortion. |
|
Echo |
Add delayed sound reflection. |
|
Expander |
Make loud parts relatively louder. |
|
Film Grain |
Add natural film-inspired texture and motion. |
|
Glow |
Add a soft outer or inner glow to visible pixels. |
|
Hue |
Adjust hue / color. |
|
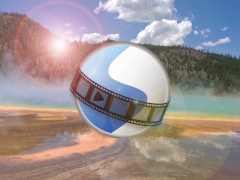
Lens Flare |
Simulate sunlight hitting a lens with flares. |
|
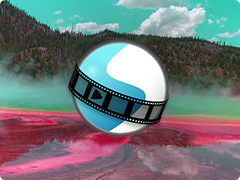
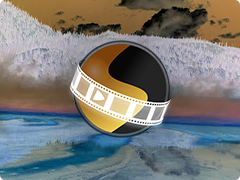
Negative |
Produce a negative image. |
|
Noise |
Add random equal-intensity signals. |
|
Object Detector |
Detect objects in video. |
|
Object Mask |
Select and follow a subject with a detailed animated mask. |
|
Outline |
Add outline around any image or text. |
|
Parametric EQ |
Adjust frequency volume in audio. |
|
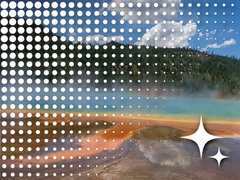
Pixelate |
Increase or decrease visible pixels. |
|
Robotization |
Transform audio into robotic voice. |
|
Shadow |
Add a soft drop shadow behind visible pixels. |
|
Sharpen |
Boost edge contrast to make video details look crisper. |
|
Shift |
Shift image in different directions. |
|
Spherical Projection |
Flatten or project 360° and fisheye footage. |
|
Stabilizer |
Reduce video shake. |
|
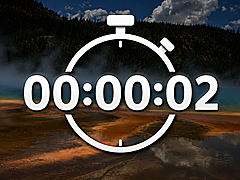
Timer |
Render a styled count up, count down, clock, timecode, or frame number overlay. |
|
Tracker |
Track bounding box in video. |
|
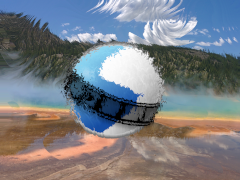
Wave |
Distort image into a wave pattern. |
|
Whisperization |
Transform audio into whispers. |
Effect Properties
Below is a list of common effect properties, shared by all effects in OpenShot. To view an effect’s properties, right click and choose Properties. The property editor will appear, where you can change these properties. Note: Pay close attention to where the play-head (i.e. red playback line) is. Key frames are automatically created at the current playback position, to help quickly create animations.
See the table below for a list of common effect properties. Only the common properties that all effects share are listed here. Each effect also has many unique properties, which are specific to each effect, see Video Effects for more information on individual effects and their unique properties.
Effect Property Name |
Type |
Description |
|---|---|---|
Apply Before Clip |
Boolean |
Apply this effect before the Clip processes keyframes? (default is Yes) |
Duration |
Float |
The length of the effect (in seconds). Read-only property. Most effects default to the length of a clip. This property is hidden when an effect belongs to a clip. |
End |
Float |
The end trimming position of the effect (in seconds). This property is hidden when an effect belongs to a clip. |
ID |
String |
A randomly generated GUID (globally unique identifier) assigned to each effect. Read-only property. |
Mask: Invert |
Bool |
Invert the mask source so light areas become dark and dark areas become light. |
Mask: Loop |
Bool |
Loop an animated mask source when the effect is longer than the source. |
Mask Mode |
Enum |
Controls how the mask limits or varies the strength of the effect. |
Mask: Source |
Reader |
The image, image sequence, video, Tracker, or Object Detector used as the effect’s grayscale mask source. |
Mask: Time Mode |
Enum |
Controls how OpenShot maps effect time to an animated mask source. |
Parent |
String |
The parent object to this effect, which makes many of these keyframe values initialize to the parent value. |
Position |
Float |
The position of the effect on the timeline (in seconds). This property is hidden when an effect belongs to a clip. |
Start |
Float |
The start trimming position of the effect (in seconds). This property is hidden when an effect belongs to a clip. |
Track |
Int |
The layer which holds the effect (higher tracks are rendered on top of lower tracks). This property is hidden when an effect belongs to a clip. |
Duration
The Duration property is a float value indicating the length of the effect in seconds. This is a Read-only property. This is calculated by: End - Start. To modify duration, you must edit the Start and/or End effect properties.
NOTE: Most effects in OpenShot default the effect duration to the clip duration, and hide this property from the editor.
End
The End property defines the trimming point at the end of the effect in seconds, allowing you to control how much of the effect is visible in the timeline. Changing this property will impact the Duration effect property.
NOTE: Most effects in OpenShot default this property to match the clip, and hide this property from the editor.
ID
The ID property holds a randomly generated GUID (Globally Unique Identifier) assigned to each effect, ensuring its uniqueness. This is a Read-only property, and assigned by OpenShot when an effect is created.
Mask Properties
The Mask: Source, Mask Mode, Mask: Time Mode, Mask: Loop, and Mask: Invert properties limit where an effect is applied. The mask source can be a static image, image sequence, video, Tracker, or Object Detector. Light areas of the mask usually apply more of the effect, while dark areas apply less; use Mask: Invert when you need the opposite result. Tracker and Object Detector sources use their bounding boxes as the masked region, which is useful for limiting effects such as blur, pixelation, color correction, or sharpening to a specific subject.
Track
The Track property is an integer indicating the layer on which the effect is placed. Effects on higher tracks are rendered above those on lower tracks.
NOTE: Most effects in OpenShot default this property to match the clip, and hide this property from the editor.
Effect Parent
The Parent property of an effect sets the initial keyframe values to a parent effect. For example, if many effects all point to the
same parent effect, they will inherit all their initial properties, such as font size, font color, and background color for a Caption effect.
In the example of many Caption effects using the same Parent effect, it is an efficient way to manage a large number of these effects.
NOTE: The parent property for effects should be linked to the same type of parent effect, otherwise their default initial values
will not match. Also see Clip Parent.
Position
The Position property determines the effect’s position on the timeline in seconds, with 0.0 indicating the beginning.
NOTE: Most effects in OpenShot default this property to match the clip, and hide this property from the editor.
Start
The Start property defines the trimming point at the beginning of the effect in seconds. Changing this property will impact the Duration effect property.
NOTE: Most effects in OpenShot default this property to match the clip, and hide this property from the editor.
Sequencing
Effects are normally applied before the Clip processes keyframes. This allows the effect to process the raw image of
the clip, before the clip applies properties such as scaling, rotation, location, etc… Normally, this is the preferred
sequence of events, and this is the default behavior of effects in OpenShot. However, you can optionally override this
behavior with the Apply Before Clip Keyframes property.
If you set the Apply Before Clip Keyframes property to No, the effect will be sequenced after the clip scales, rotates,
and applies keyframes to the image. This can be useful on certain effects, such as the Mask effect, when you want
to animate a clip first and then apply a static mask to the clip.
Video Effects
Effects are generally divided into two categories: video and audio effects. Video effects modify the image and pixel data of a clip. Below is a list of video effects, and their properties. Often it is best to experiment with an effect, entering different values into the properties, and observing the results.
Analog Tape
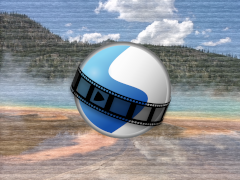
The Analog Tape effect emulates consumer tape playback: horizontal line wobble (“tracking”), chroma bleed, luma softness, grainy snow, a bottom tracking stripe, and short static bursts. All controls are key-framable and the noise is deterministic (seeded from the effect’s ID with an optional offset), so renders are repeatable.
Property Name |
Description |
|---|---|
tracking |
|
bleed |
|
softness |
|
noise |
|
stripe |
|
static_bands |
|
seed_offset |
|
Usage notes
Subtle “home video”:
tracking=0.25,bleed=0.20,softness=0.20,noise=0.25,stripe=0.10,static_bands=0.05.Bad tracking / head clog:
tracking=0.8–1.0,stripe=0.6–0.9,noise=0.6–0.8,static_bands=0.4–0.6,softness<=0.2, and setbleedto about 0.3.Color fringing only: raise
bleed(about 0.5) and keep other controls low.Different but repeatable snow: leave the effect ID alone (for deterministic output) and change
seed_offsetto get a new, still-repeatable pattern.
Alpha Mask / Wipe Transition
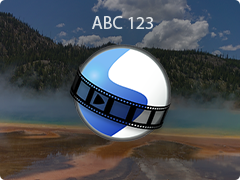
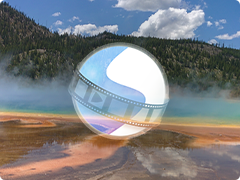
The Alpha Mask / Wipe Transition effect leverages a grayscale mask to create a dynamic transition between two images or video clips. In this effect, the light areas of the mask reveal the new image, while the dark areas conceal it, allowing for creative and custom transitions that go beyond standard fade or wipe techniques. This effect only affects the image, and not the audio track.
Property Name |
Description |
|---|---|
brightness |
|
contrast |
|
reader |
|
replace_image |
|
Audio Visualization
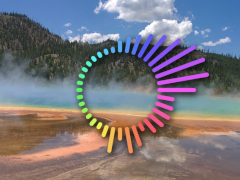
The Audio Visualization effect turns sound into animated visuals, making it easy to create music visualizers, audio spectrum analyzers, waveform animations, podcast videos, lyric videos, DJ visuals, and social media clips that react to music, voice, beats, and other audio. It draws from the clip’s audio samples and can render waveforms, filled waveforms, audio bars, radial visualizers, frequency spectrum displays, phase scopes, particles, VU meters, and radial bars.
Because this is a video effect, the visualization can be composited directly over the source image, placed on a transparent background, or drawn over a solid, faded, or gradient background. This makes it useful for YouTube music videos, podcast audiograms, voiceover clips, album preview videos, karaoke-style videos, and quick promotional clips where the audio needs a strong visual presence.
Common uses include:
Music visualizer videos: Add moving waveforms, spectrum bars, radial bars, or particles to a song, remix, or beat.
Podcast and voiceover clips: Show a waveform or VU meter while a speaker talks, especially for audio-only media.
Lyric and karaoke videos: Combine captions or titles with reactive audio visuals behind or around the text.
Social media audiograms: Create short clips for YouTube Shorts, TikTok, Instagram Reels, and other platforms.
DJ, concert, and livestream visuals: Use neon, radial, particle, or spectrum styles for energetic background motion.
Technical audio displays: Use spectrum, phase scope, or VU meter modes to show frequency content, stereo movement, or loudness.
Property Name |
Description |
|---|---|
visualization_type |
|
style |
|
color |
|
intensity |
|
smoothing |
|
detail |
|
glow |
|
color_spread |
|
color_mode |
|
channel_layout |
|
frequency_low |
|
frequency_high |
|
background |
|
Beat Sync
The Beat Sync effect turns audio energy into a flashing full-frame color layer. A simple example is a black frame that flashes toward white on each drum hit. By placing that flashing clip above your video and changing its Composite (Blend Mode), you can make the video underneath pulse, brighten, darken, or color-shift with the beat.
This effect is a little different from most video effects: it does not directly brighten the clip underneath it. Instead, it creates a new flashing image from the audio clip it is applied to. You preview that flashing image first, then use the clip’s composite mode to blend it with another clip on a lower track.
Note
Beat Sync needs access to audio samples. If the clip’s Enable Audio property is set manually, use
Auto or Yes. If you want Beat Sync to react to an audio clip but you do not want to
hear that clip, set the clip’s Volume keyframe to 0.0. The effect can still use the silent audio
data to generate the flashing colors.
Basic Workflow
Place an audio clip on the Timeline.
Drag the Beat Sync effect from the Effects panel onto that audio clip.
Preview the clip by itself first. You should see a flashing color layer, usually black flashing toward white.
Open the effect Properties.
Adjust Low Color and High Color. For example, black to white creates a brightness flash, white to black creates a darkening flash, and red to green creates a color pulse.
Adjust Response Curve to control how easily the flash appears:
Lift the middle of the curve to make smaller sounds flash more strongly.
Lower the middle of the curve to make only stronger beats flash.
Create a steeper curve for a sharper strobe-like response.
If the effect is reacting to the wrong part of the sound, adjust Low Frequency and High Frequency. For example, a bass-only flash should use a lower frequency range.
When the flashing layer feels right, select the Beat Sync clip and change its Composite (Blend Mode) property. Try modes such as Screen, Overlay, Multiply, or Color Dodge, depending on the look you want.
Place the video you want to affect on the track below the Beat Sync clip.
Preview the composited result and fine-tune the colors, curve, intensity, threshold, or composite mode.
Common Uses
Music video flashes: Flash white or bright colors on snare hits, kicks, or strong beats.
Bass pulses: Use a low frequency range so the image reacts mostly to bass drums or bass lines.
Silent driver track: Use a muted audio clip only as the control signal for the visual flash.
Color rhythm effects: Blend between two custom colors, such as blue to yellow or red to green.
Properties
Property Name |
Description |
|---|---|
low_color |
|
high_color |
|
intensity |
|
threshold |
|
attack_ms |
|
decay_ms |
|
frequency_low |
|
frequency_high |
|
invert |
|
response_curve |
|
Technical Notes
Beat Sync analyzes the clip’s audio, filters it to the selected frequency range, follows the audio envelope using the attack and decay settings, applies the threshold, then samples the Response Curve. The resulting value blends between Low Color and High Color and fills the entire frame with that color. The clip’s own image is not used as a background; the effect generates a clean color layer intended for compositing.
Because the output is a full-frame layer, the final look depends heavily on the clip’s Composite (Blend Mode). Preview the flashing layer alone first, then choose a blend mode after placing the target video on the track below it.
Bars
The Bars effect adds colored bars around your video frame, which can be used for aesthetic purposes, to frame the video within a certain aspect ratio, or to simulate the appearance of viewing content on a different display device. This effect is particularly useful for creating a cinematic or broadcast look.
Property Name |
Description |
|---|---|
bottom |
|
color |
|
left |
|
right |
|
top |
|
Blur
The Blur effect softens the image, reducing detail and texture. This can be used to create a sense of depth,
draw attention to specific parts of the frame, or simply to apply a stylistic choice for aesthetic purposes.
The intensity of the blur can be adjusted to achieve the desired level of softness. Use the left, right,
top, and bottom margin properties to limit the blur to a rectangular area, such as a corner, logo, or
static part of the screen.
Property Name |
Description |
|---|---|
bottom |
|
horizontal_radius |
|
iterations |
|
left |
|
right |
|
sigma |
|
top |
|
vertical_radius |
|
Brightness & Contrast
The Brightness & Contrast effect allows for the adjustment of the overall lightness or darkness of the image (brightness) and the difference between the darkest and lightest parts of the image (contrast). This effect can be used to correct poorly lit videos or to create dramatic lighting effects for artistic purposes.
Property Name |
Description |
|---|---|
brightness |
|
contrast |
|
Caption
Add text captions on top of your video. We support both VTT (WebVTT) and SubRip (SRT) subtitle file formats. These formats are used to display captions or subtitles in videos. They allow you to add text-based subtitles to video content, making it more accessible to a wider audience, especially for those who are deaf or hard of hearing. The Caption effect can even animate the text fading in/out, and supports any font, size, color, and margin. OpenShot also has an easy-to-use Caption editor, where you can quickly insert captions at the playhead position, or edit all your caption text in one place.
The Caption editor’s insert button (the plus icon) creates a complete caption cue at the current playhead position, using a three-second default duration when possible, and selects the placeholder caption text so you can start typing immediately. Caption text updates are previewed while you type.
To set a caption’s end time from the playhead, remove the existing end timestamp from the cue line, leaving the start timestamp and arrow. Move the playhead to the desired end time, place the text cursor on that incomplete timestamp line, and press the plus icon again. OpenShot inserts the current playhead timestamp as the cue’s end time.
:caption: Show a caption, starting at 5 seconds and ending at 10 seconds.

00:00:05.000 --> 00:00:10.000
Hello, welcome to our video!
Property Name |
Description |
|---|---|
background |
|
background_alpha |
|
background_corner |
|
background_padding |
|
caption_font |
|
caption_text |
|
color |
|
bottom |
|
fade_in |
|
fade_out |
|
font_alpha |
|
font_size |
|
left |
|
line_spacing |
|
right |
|
stroke |
|
stroke_width |
|
top |
|
Chroma Key (Greenscreen)
The Chroma Key (Greenscreen) effect replaces a specific color (or chroma) in the video (commonly green or blue) with transparency, allowing for the compositing of the video over a different background. This effect is widely used in film and television production for creating visual effects and placing subjects in settings that would be otherwise impossible or impractical to shoot in.
Green Screen Workflow
Place your background clip on a lower track and your green-screen footage on the track directly above it.
Drag and drop the Chroma Key (Greenscreen) effect from the Effects panel onto your green-screen clip.
Double-click the color button in the Properties panel to open the color picker, then select the green or blue background color.
Raise the threshold slider until the background turns fully transparent.
Fine-tune halo to remove any residual color fringe around the subject edges.
Property Name |
Description |
|---|---|
color |
|
threshold |
|
halo |
|
keymethod |
|
Color Grade
The Color Grade effect combines primary correction, tonal wheels, RGB curves, and LUT support into one fully animated effect. Use it for color correction (white balance, exposure, contrast) and color grading (building a stylized look). Right-click a clip and use Look → Color presets to apply it instantly, or switch to View → Color View for a dedicated grading workspace.
See also
Color — full workflow guide covering the Color Wheels dock, Curve Editor, video scopes, color presets, skin tone matching, and step-by-step grading examples.
Properties
Property Name |
Description |
|---|---|
temperature |
|
tint |
|
exposure |
|
contrast |
|
highlights |
|
shadows |
|
saturation |
|
vibrance |
|
mix |
|
wheels |
|
curve_all |
|
curve_red |
|
curve_green |
|
curve_blue |
|
lut_path |
|
lut_intensity |
|
Color Map / Lookup
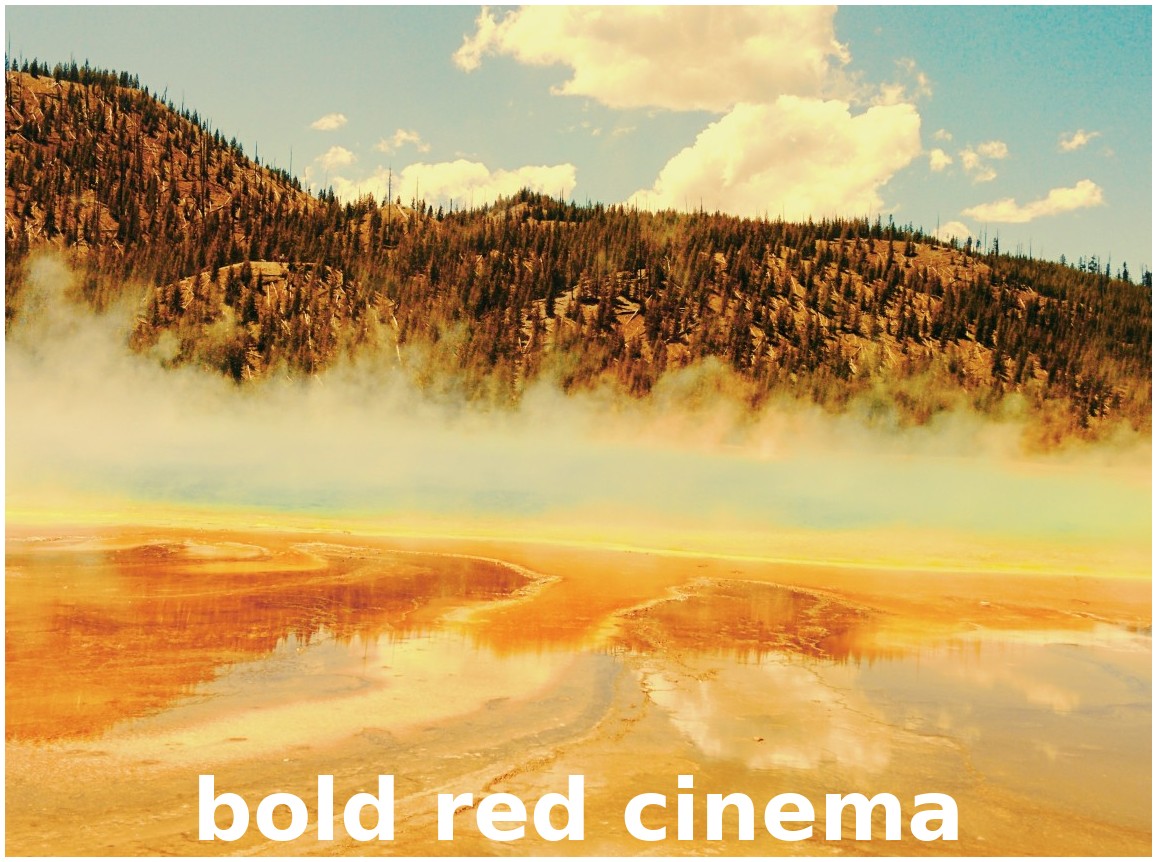
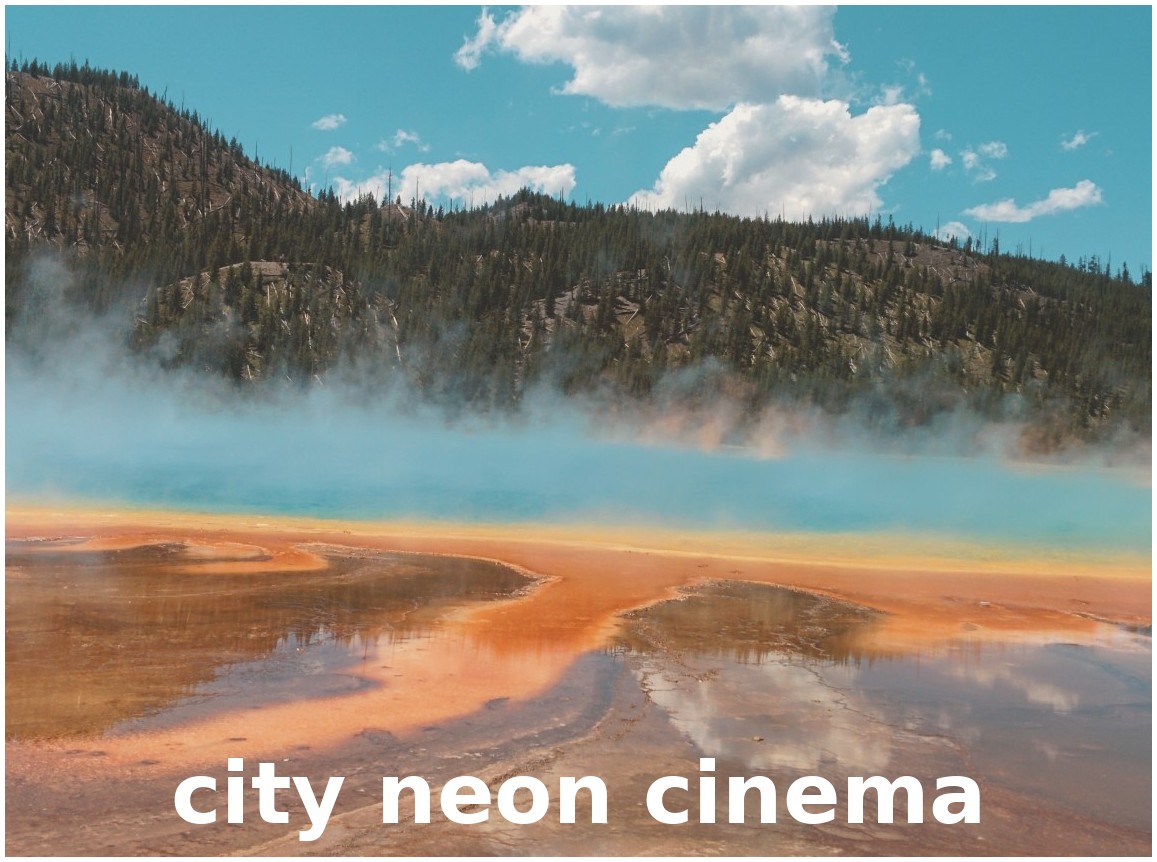
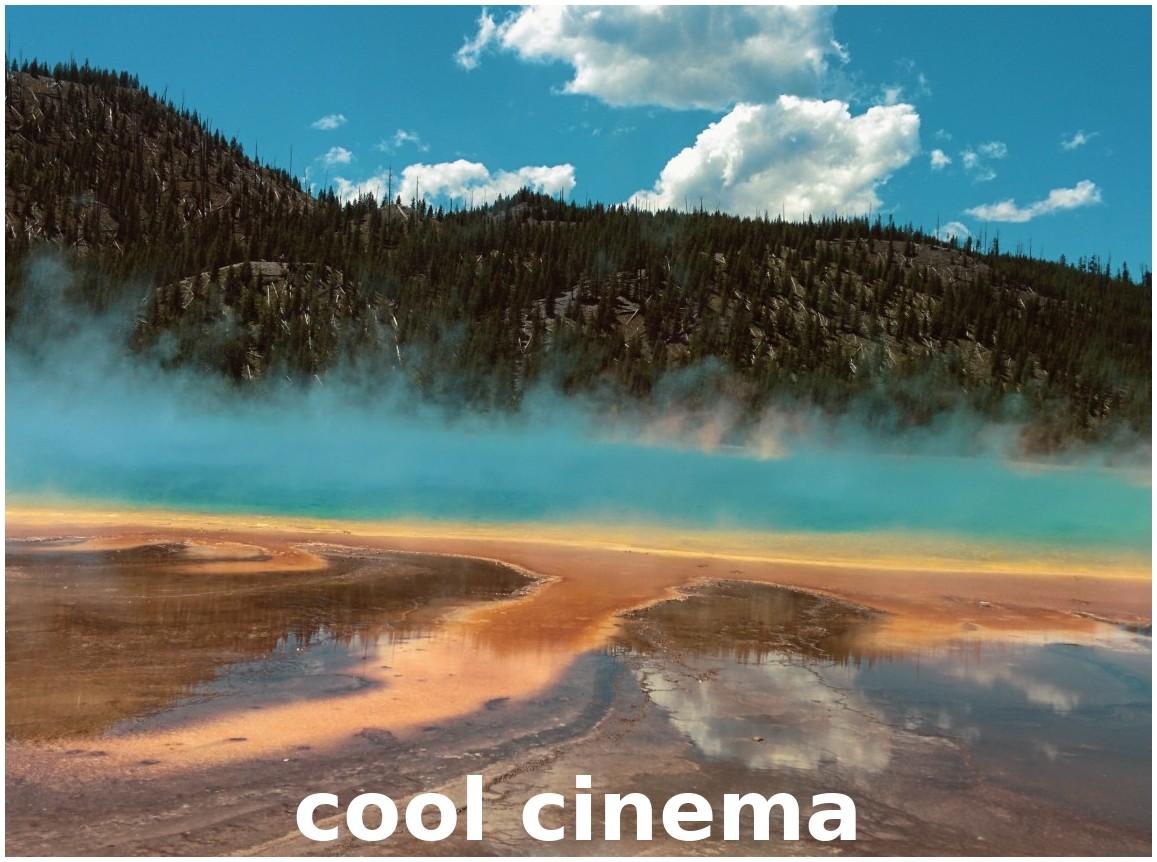
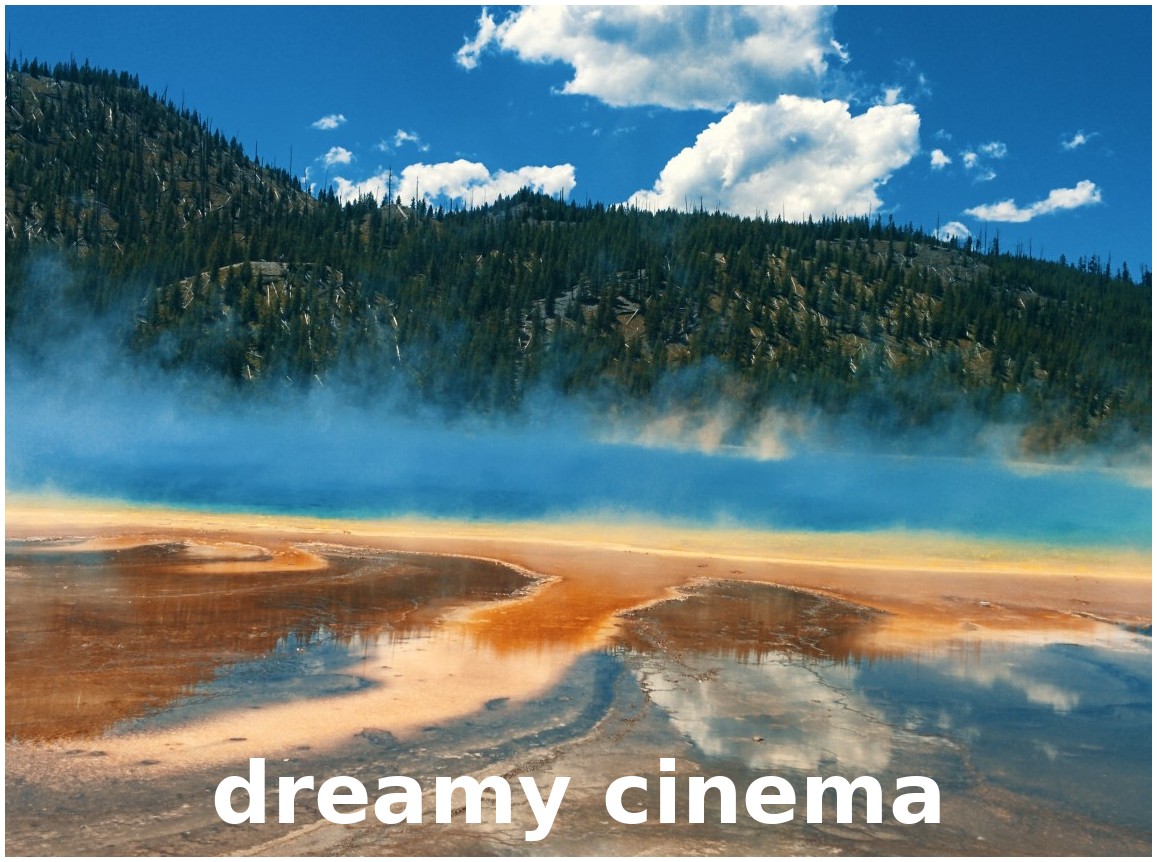
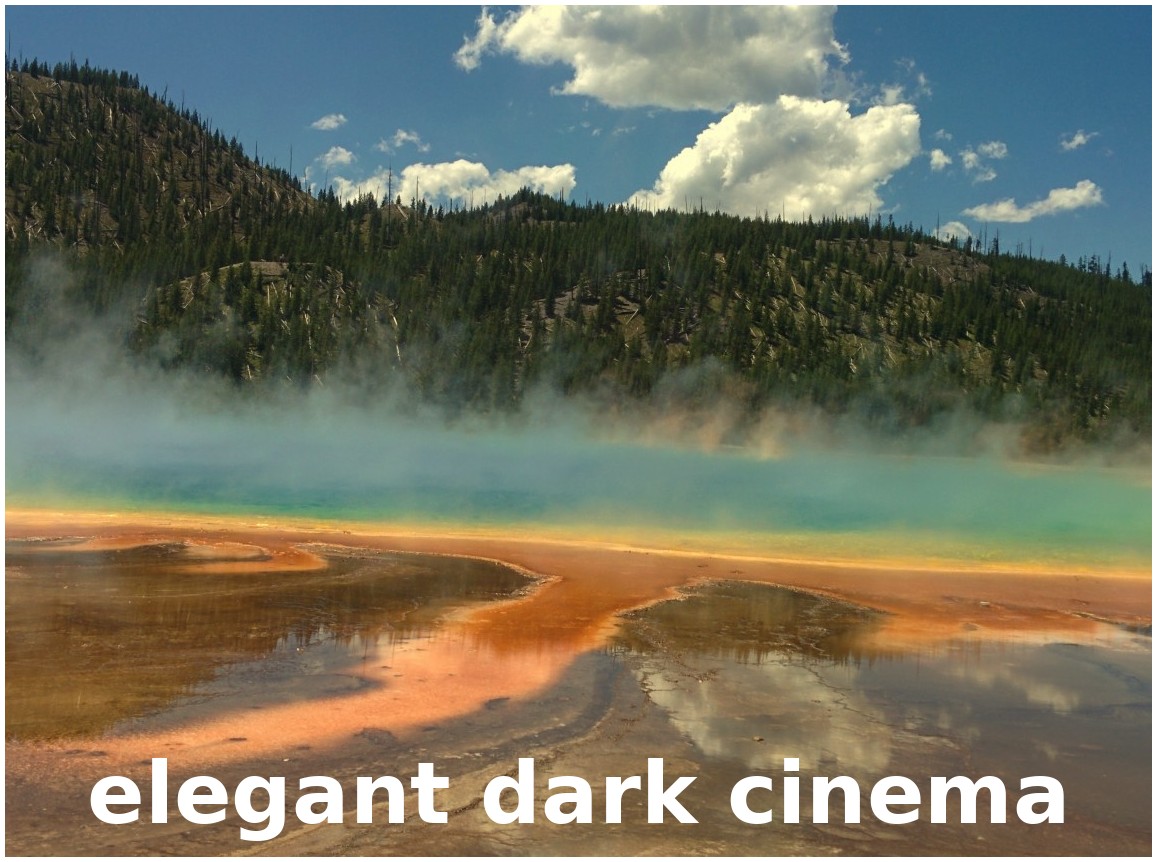
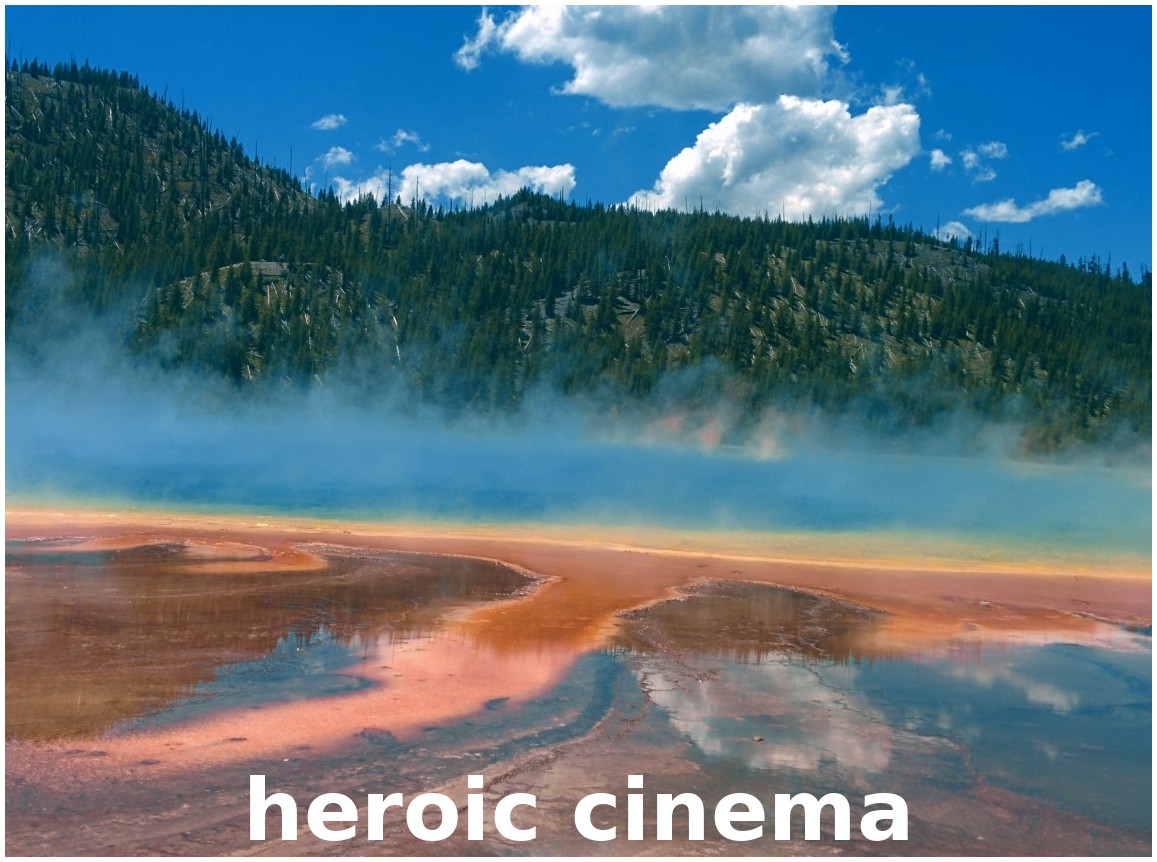
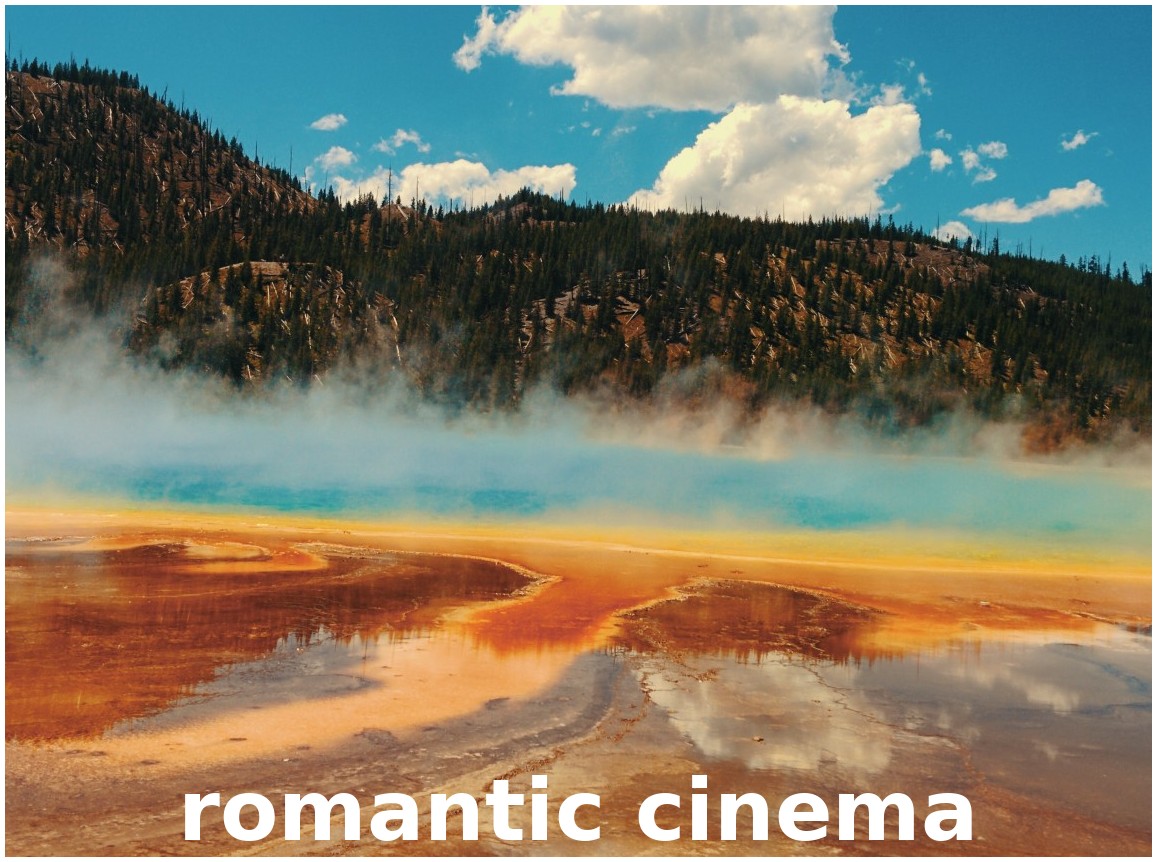
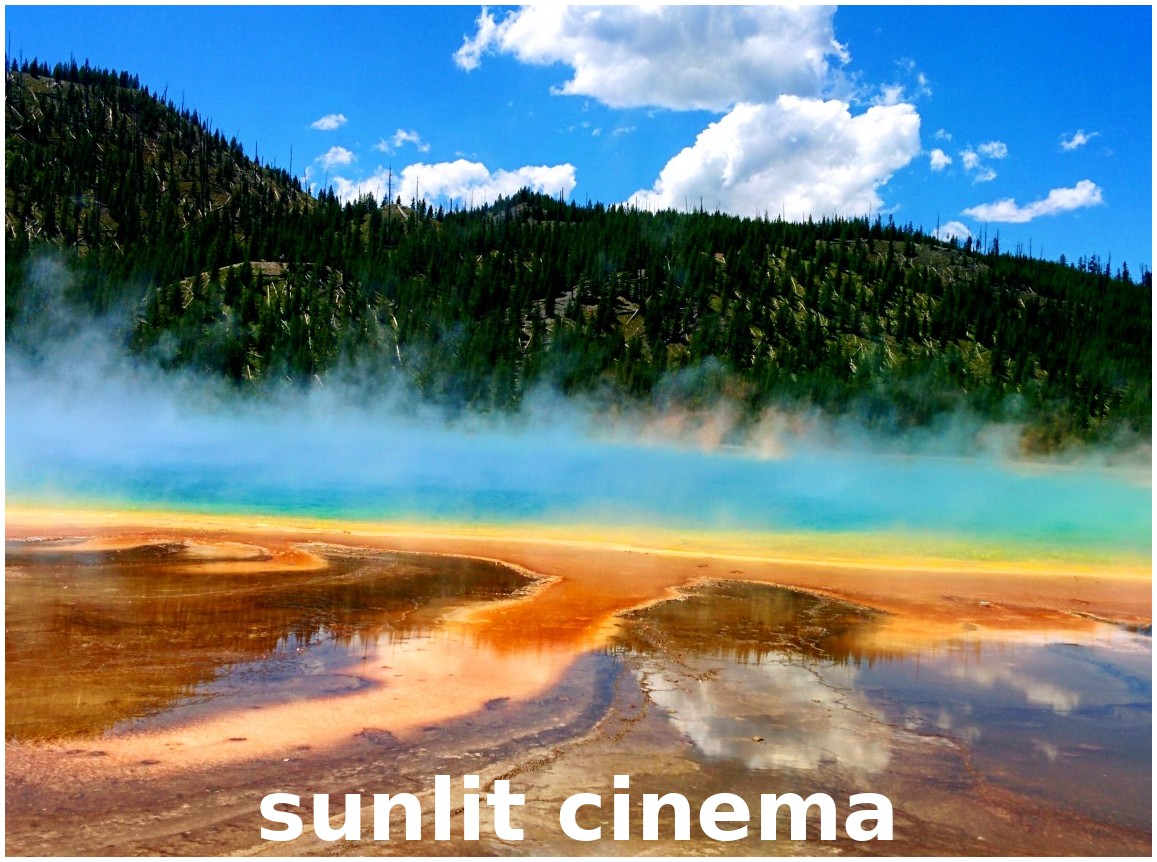
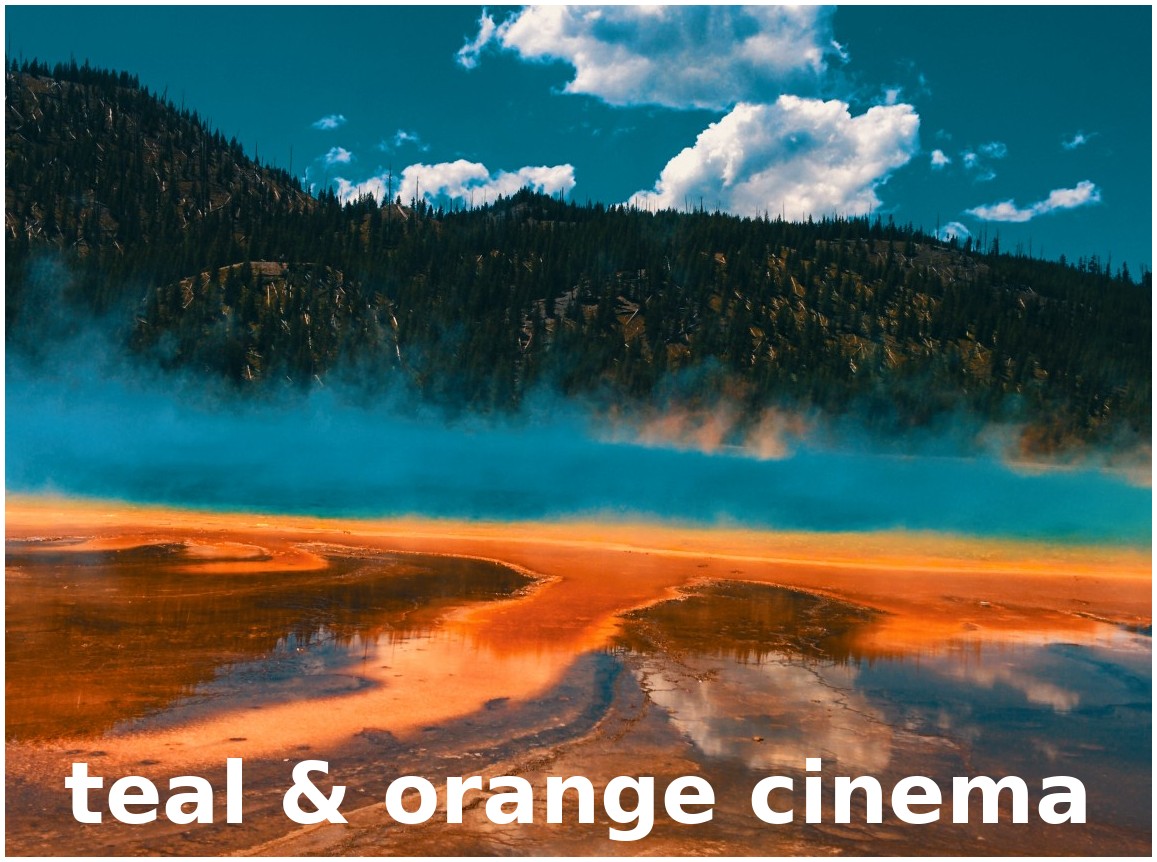
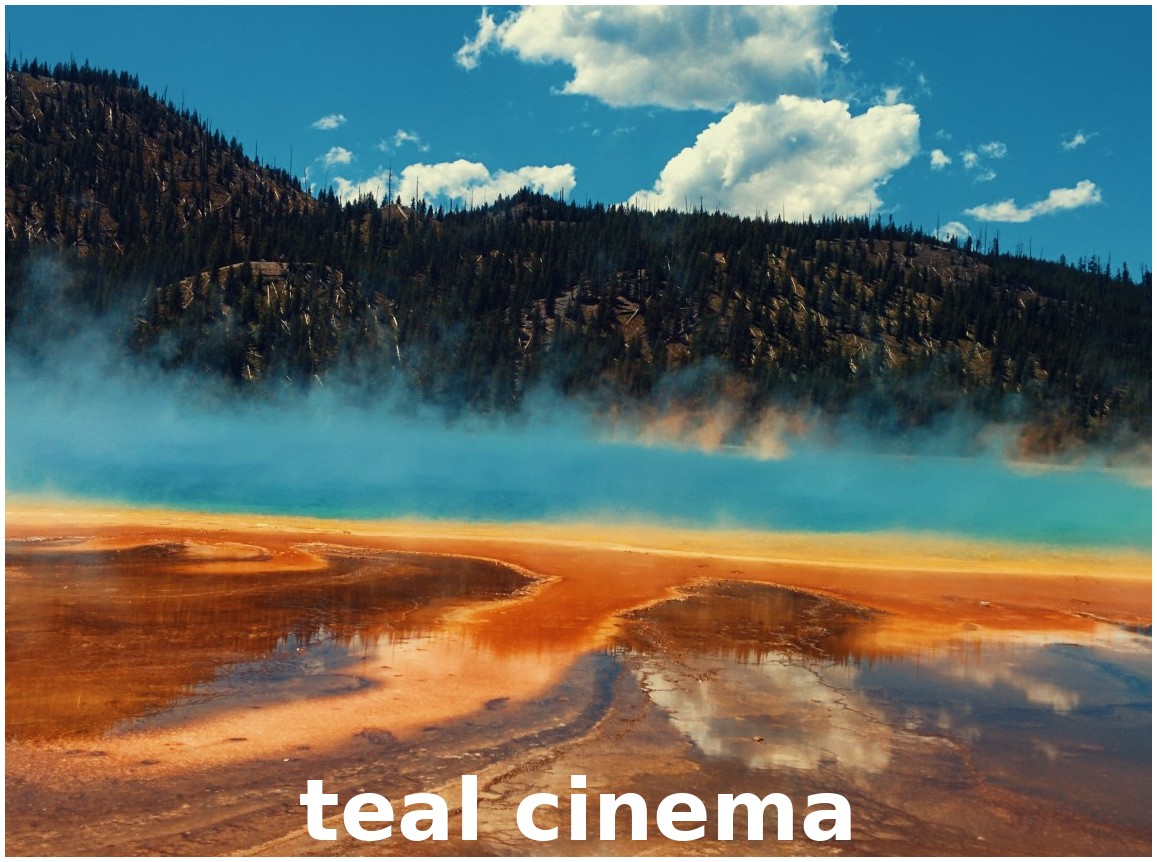
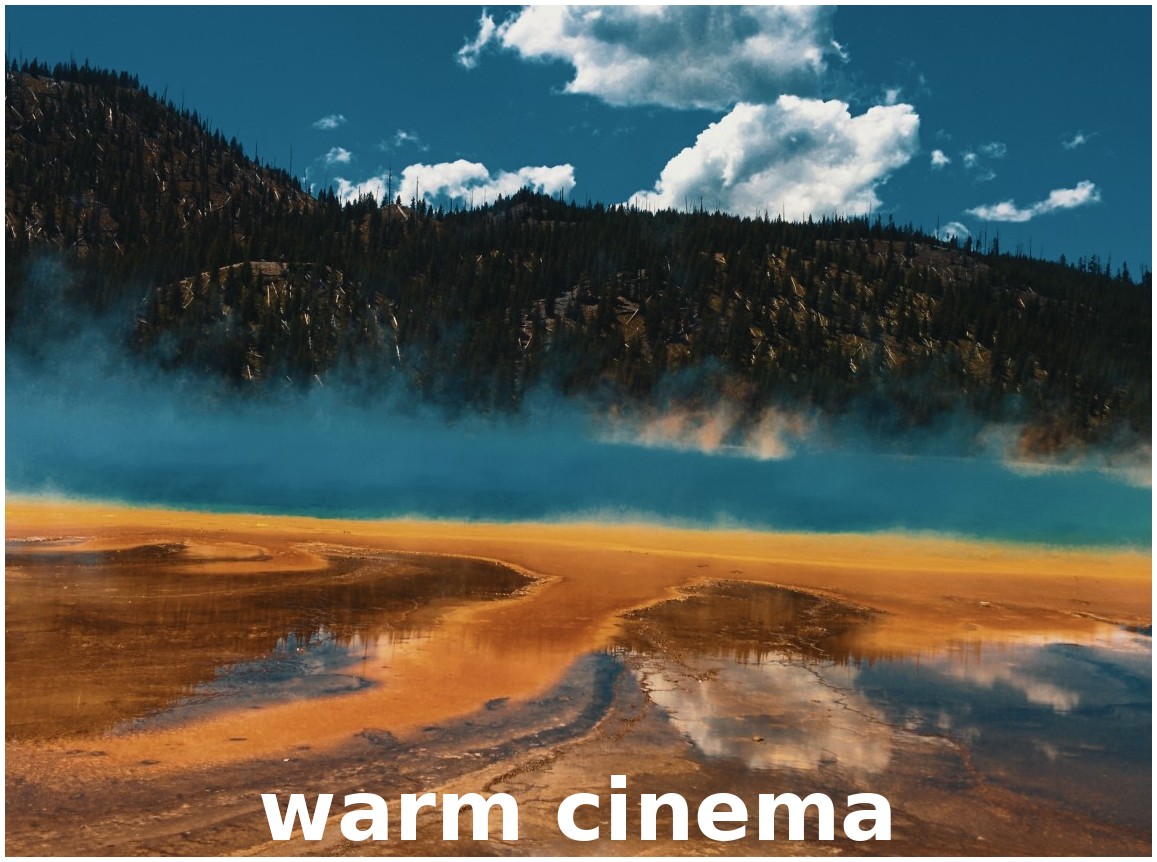
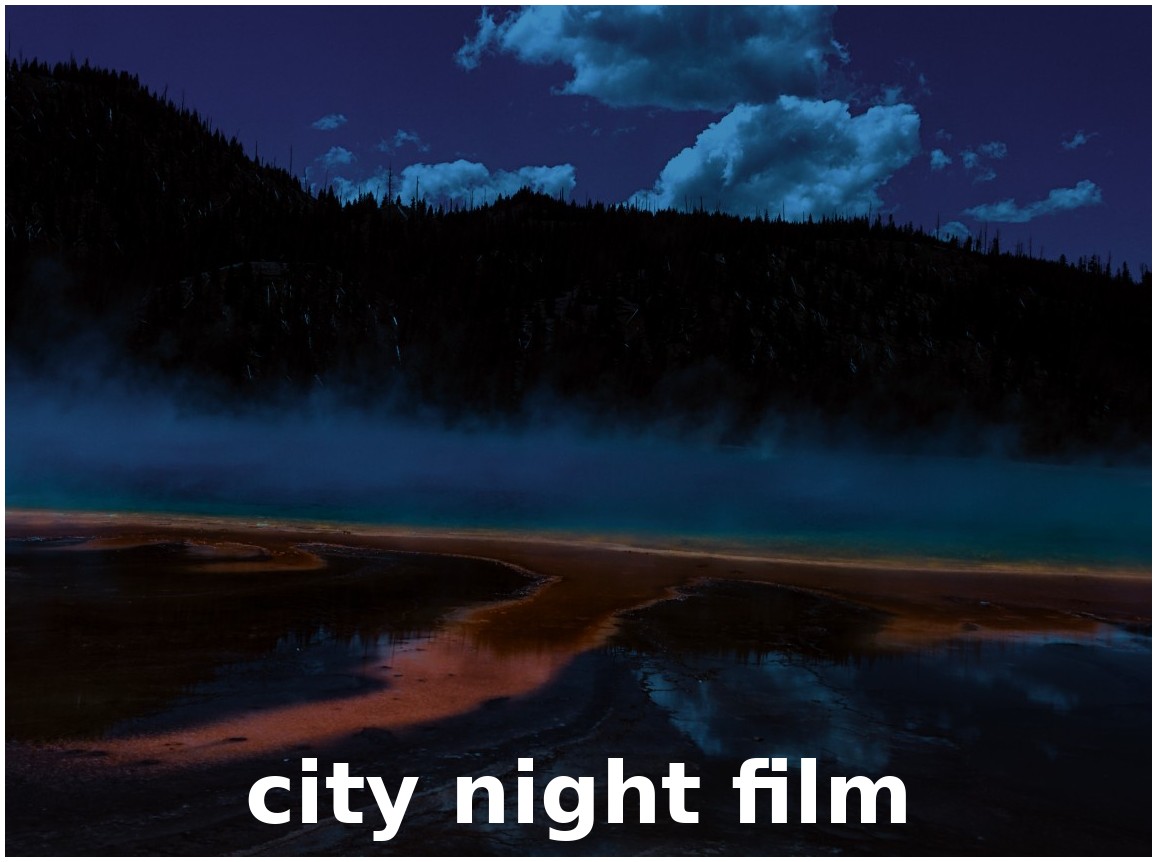
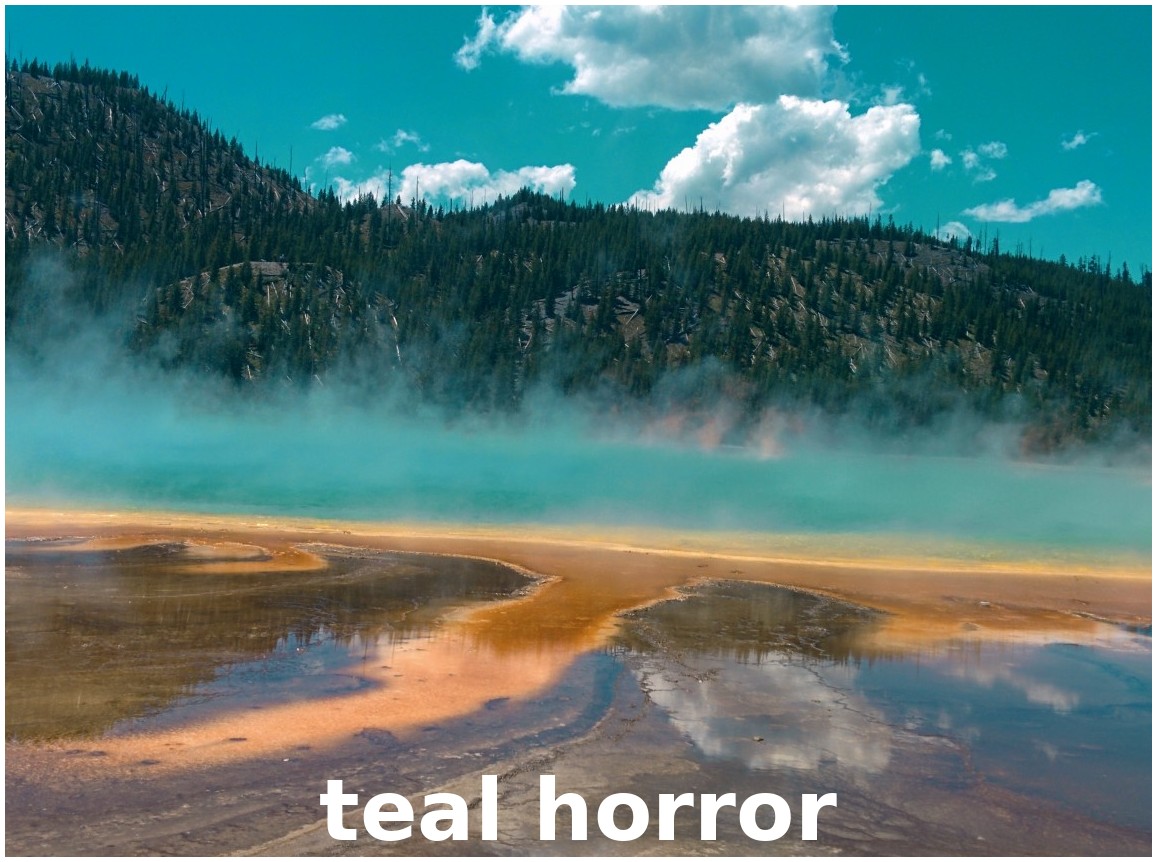
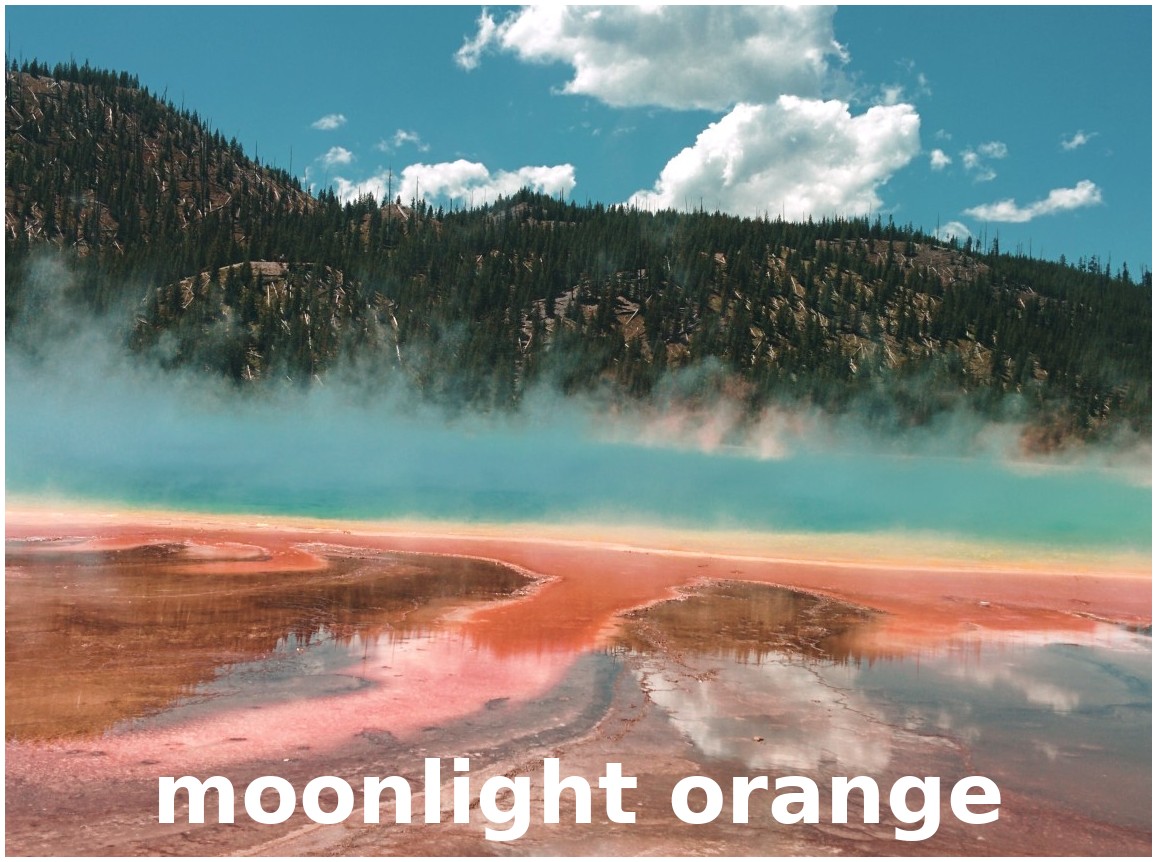
The Color Map effect applies a 3D LUT (Lookup Table) to your footage, instantly transforming its colors to achieve a consistent look or mood. A 3D LUT is simply a table that remaps every input hue to a new output palette. With separate keyframe curves for red, green, and blue channels, you can precisely control, and even animate, how much each channel is influenced by the LUT, making it easy to fine-tune or blend your grade over time.
LUT files (.cube format) can be downloaded from many online resources, including free packs on photography blogs or marketplaces, such as https://freshluts.com/. OpenShot includes a selection of popular LUTs designed for Rec 709 gamma out of the box.
Property Name |
Description |
|---|---|
lut_path |
|
intensity |
|
intensity_r |
|
intensity_g |
|
intensity_b |
|
Gamma and Rec 709
Gamma is the way video systems brighten or darken the midtones of an image. Rec 709 is the standard gamma curve used for most HD and online video today. By shipping with Rec 709 LUTs, OpenShot makes it simple to apply a grade that matches the vast majority of footage you’ll edit.
If your camera or workflow uses a different gamma (for example a LOG profile), you can still use a LUT made for that curve. Simply use a .cube file designed for your gamma under the Color Map effect’s LUT Path. Just be sure your footage gamma matches the LUT gamma—or the colors may look incorrect.
The following Rec 709 LUT files are included in OpenShot, organized into the following categories:
Cinematic & Blockbuster
Dark & Moody
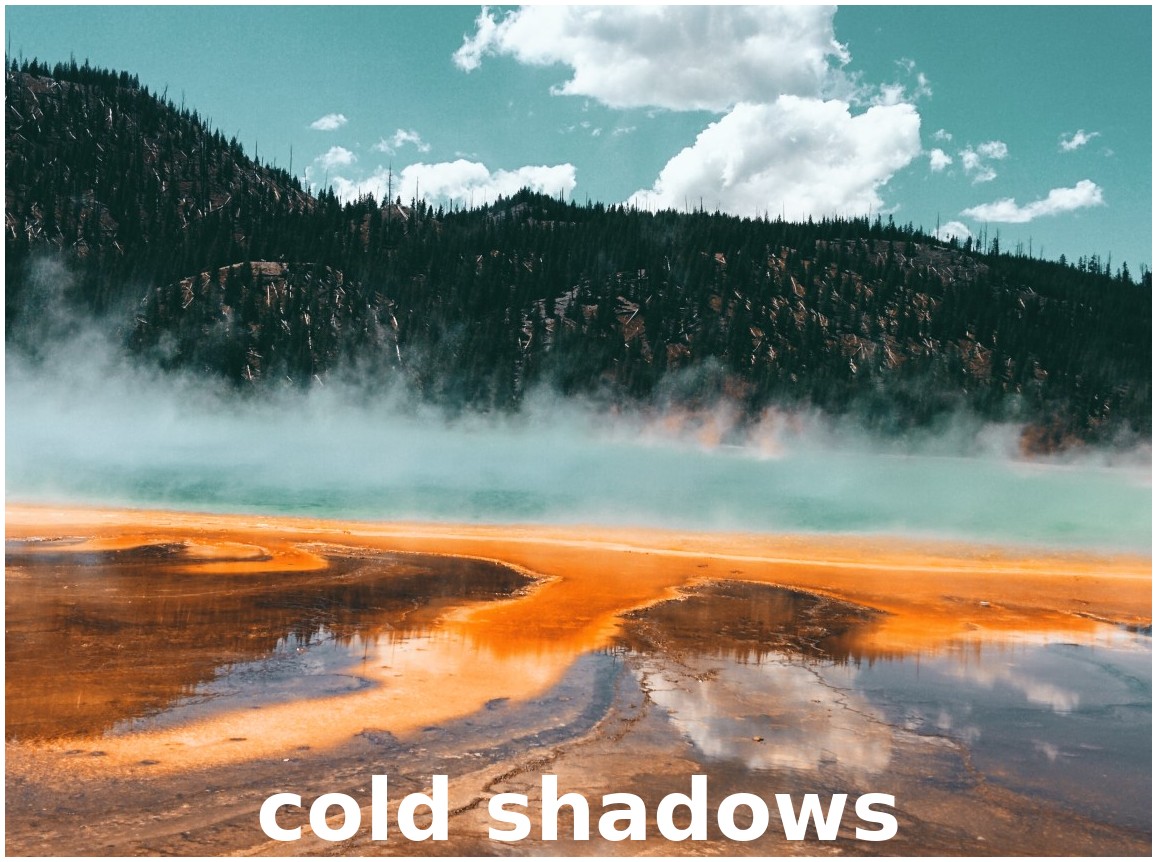
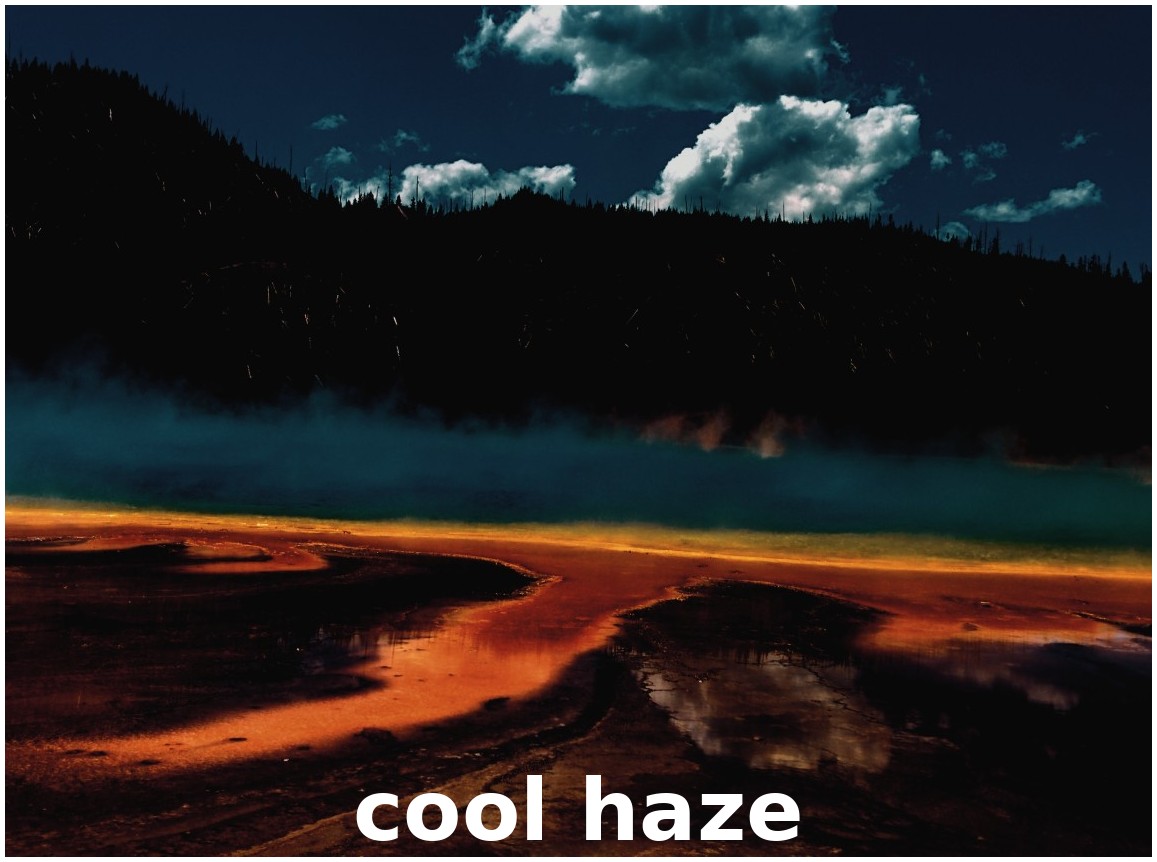
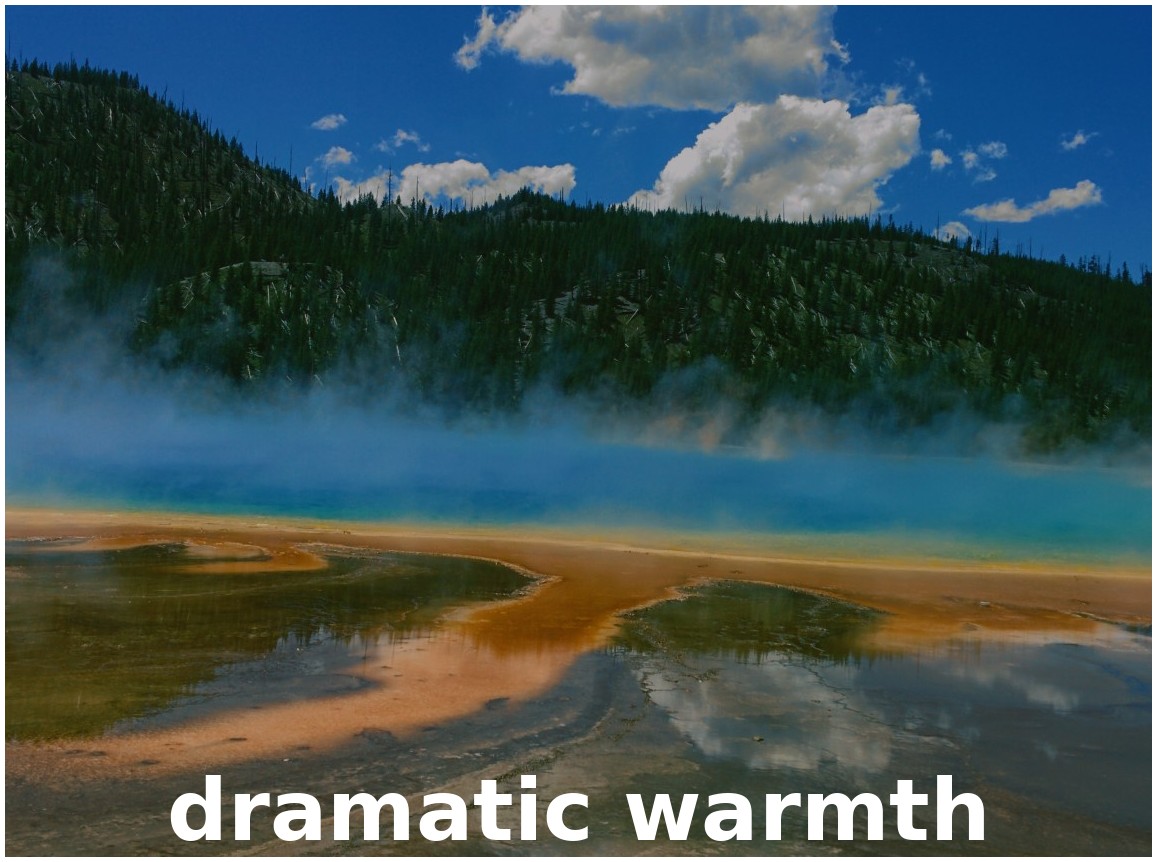
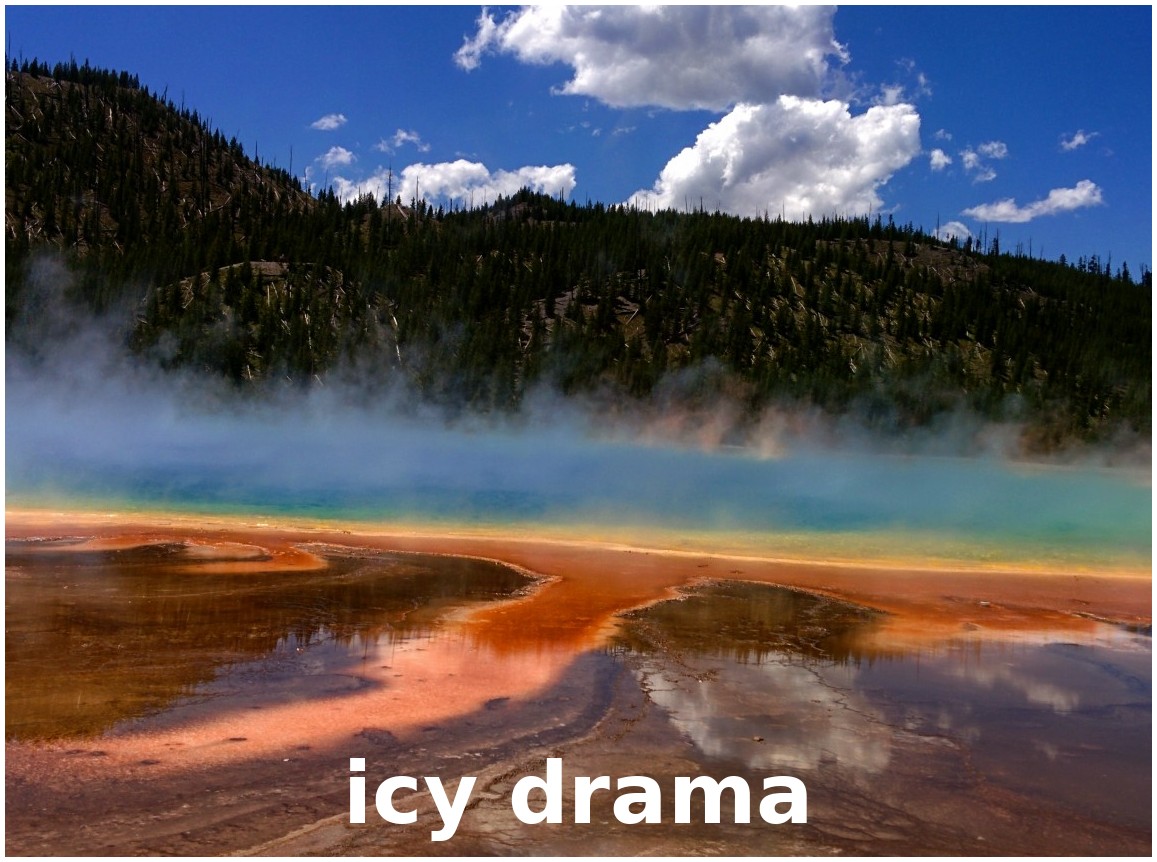
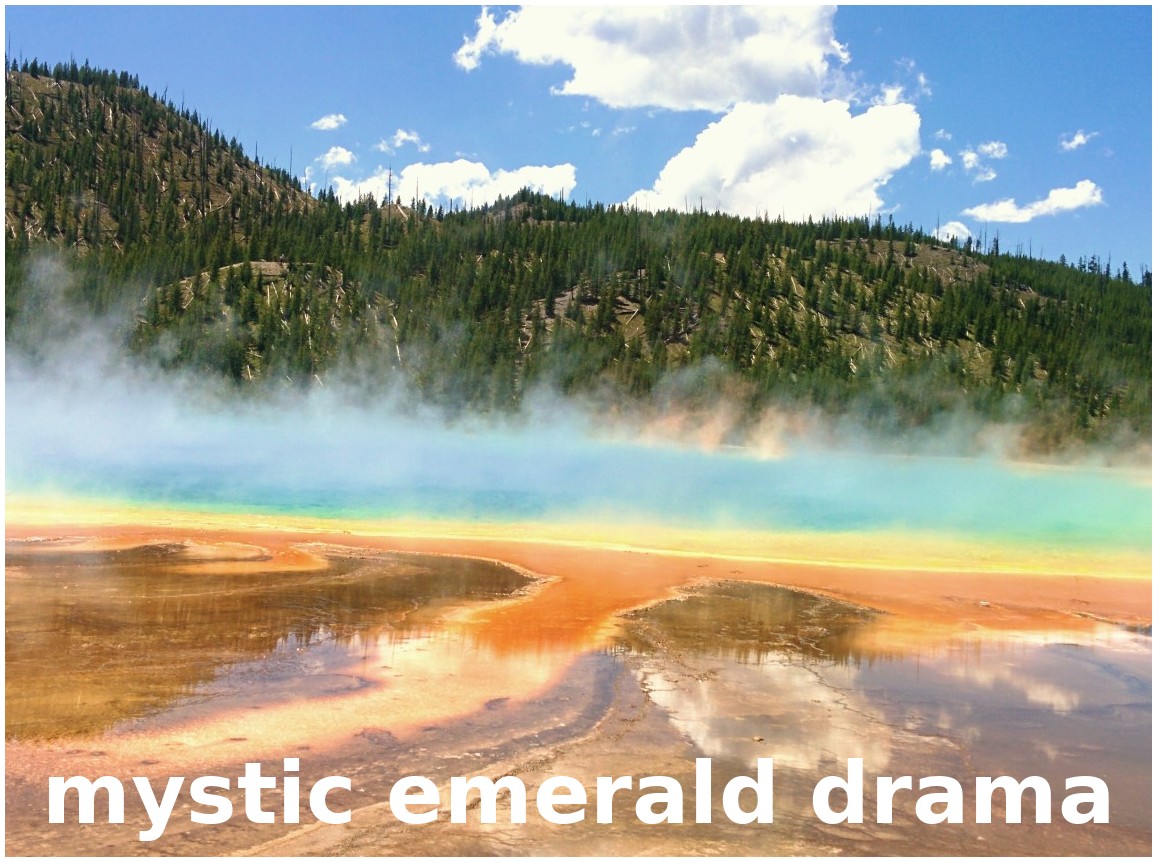
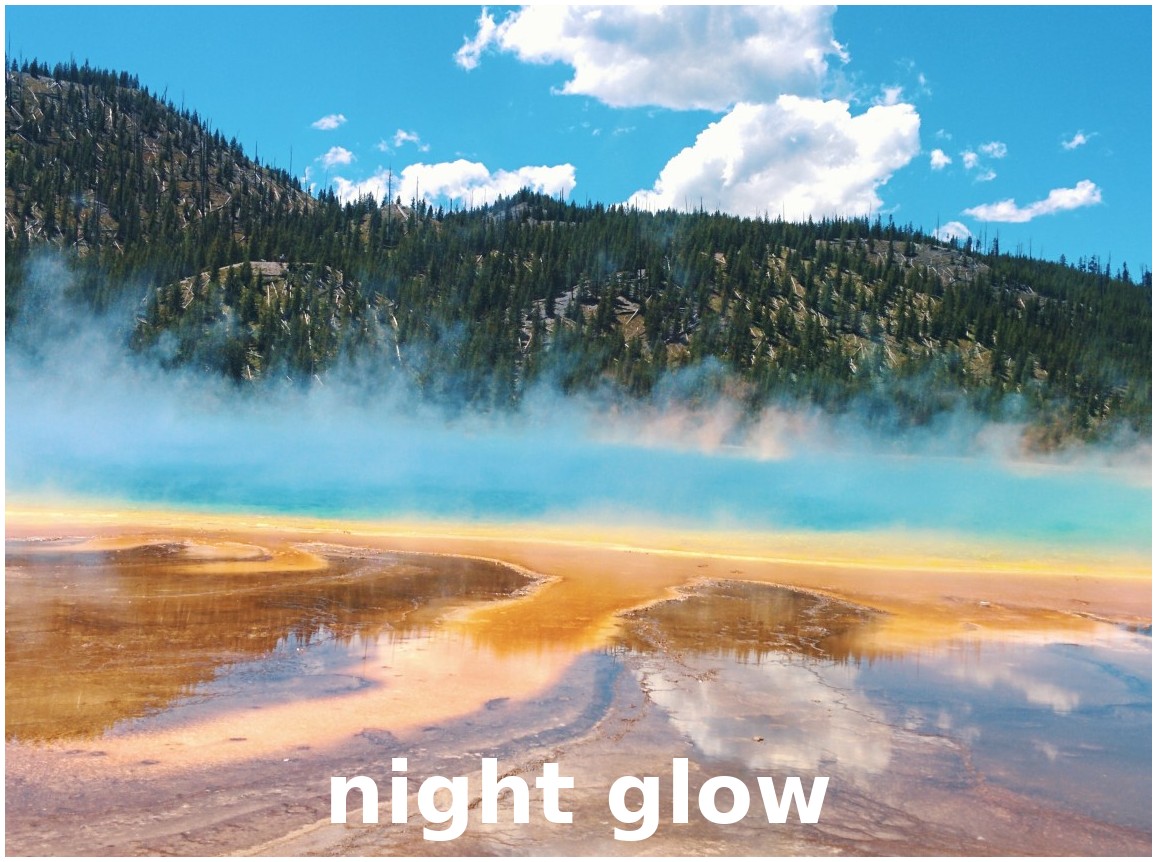
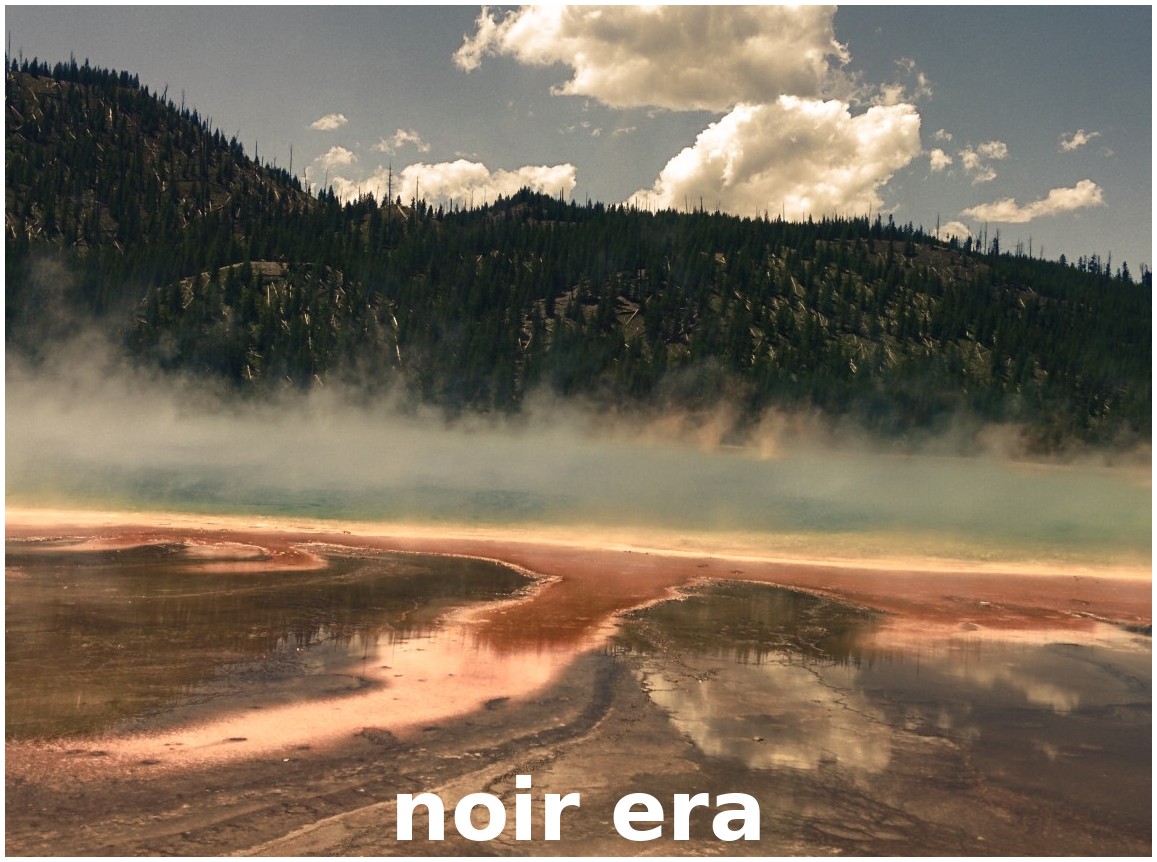
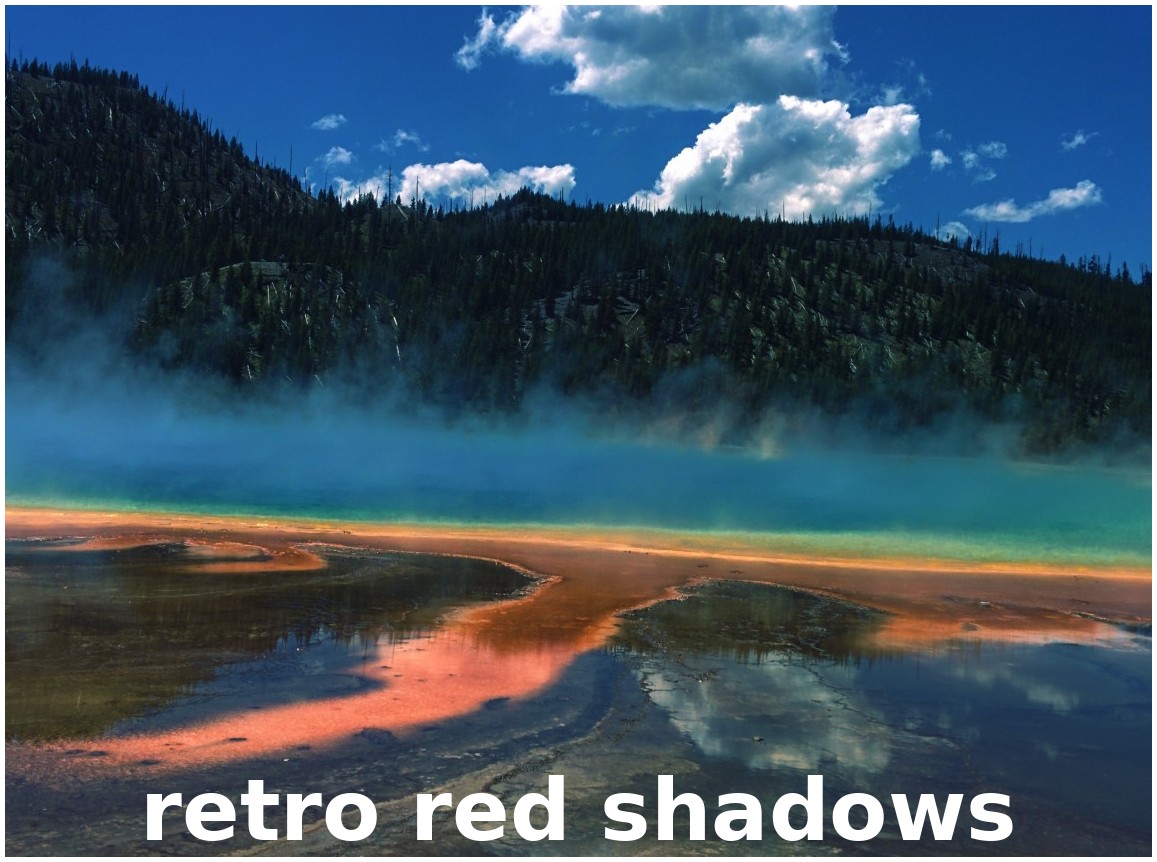
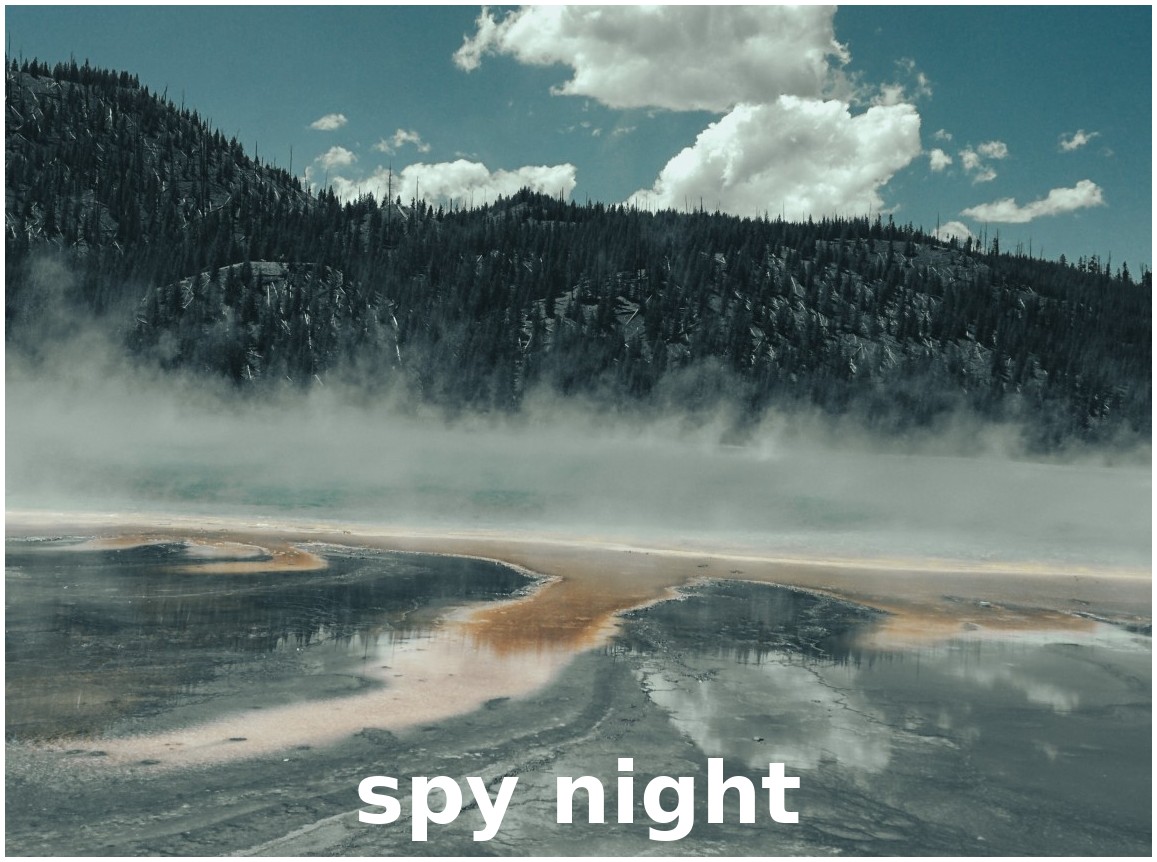
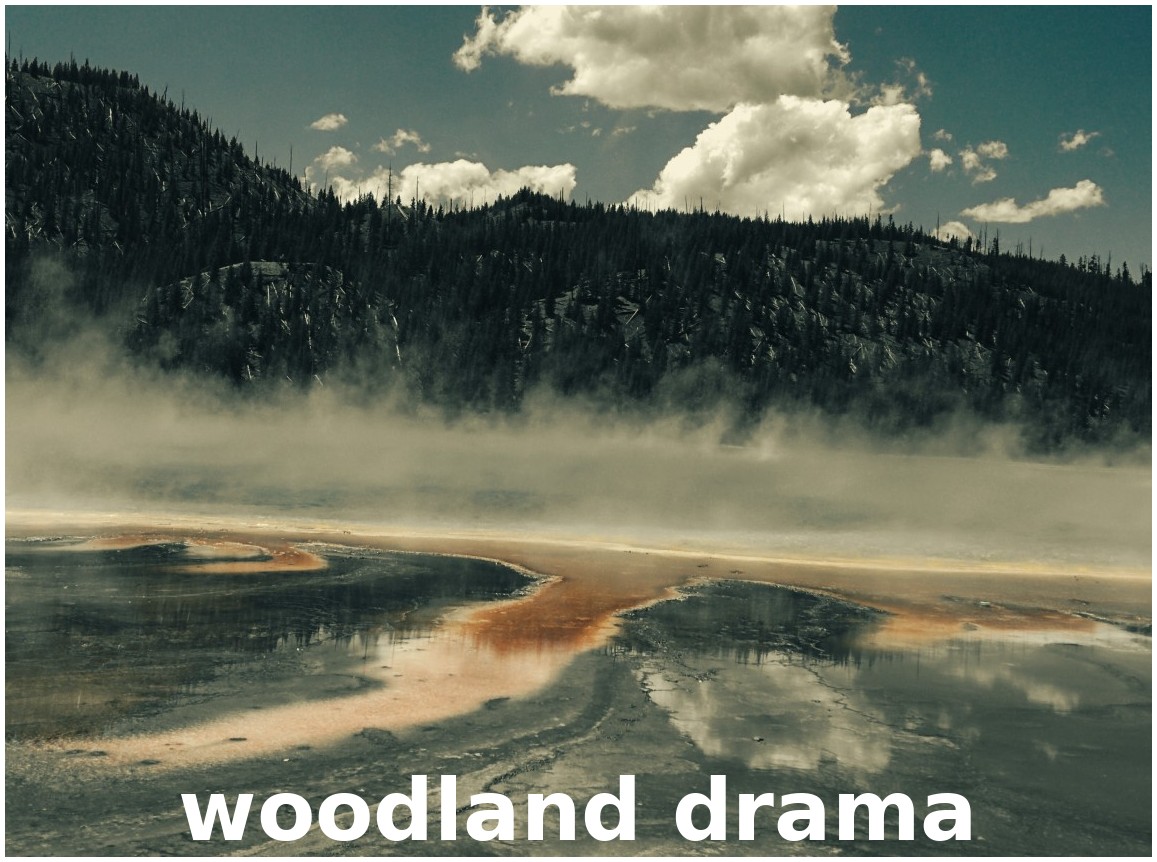
Film Stock & Vintage


Teal & Orange Vibes

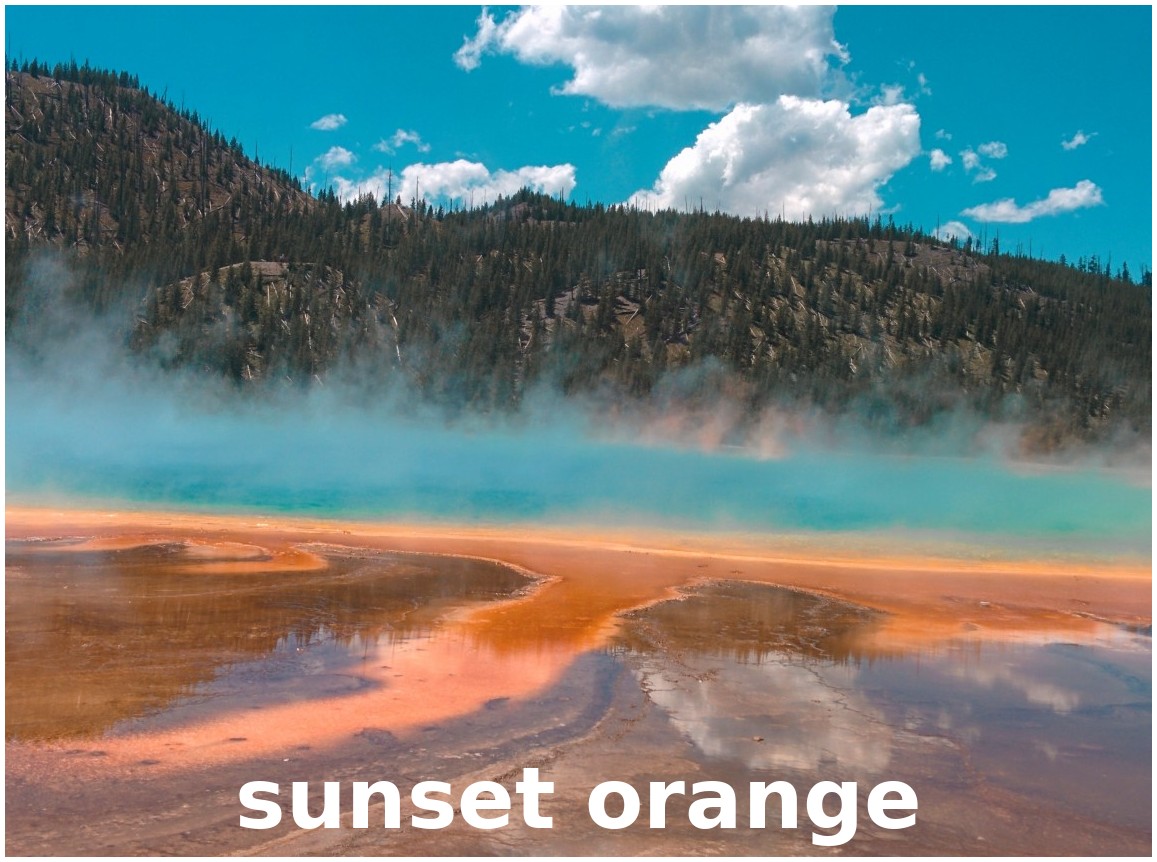
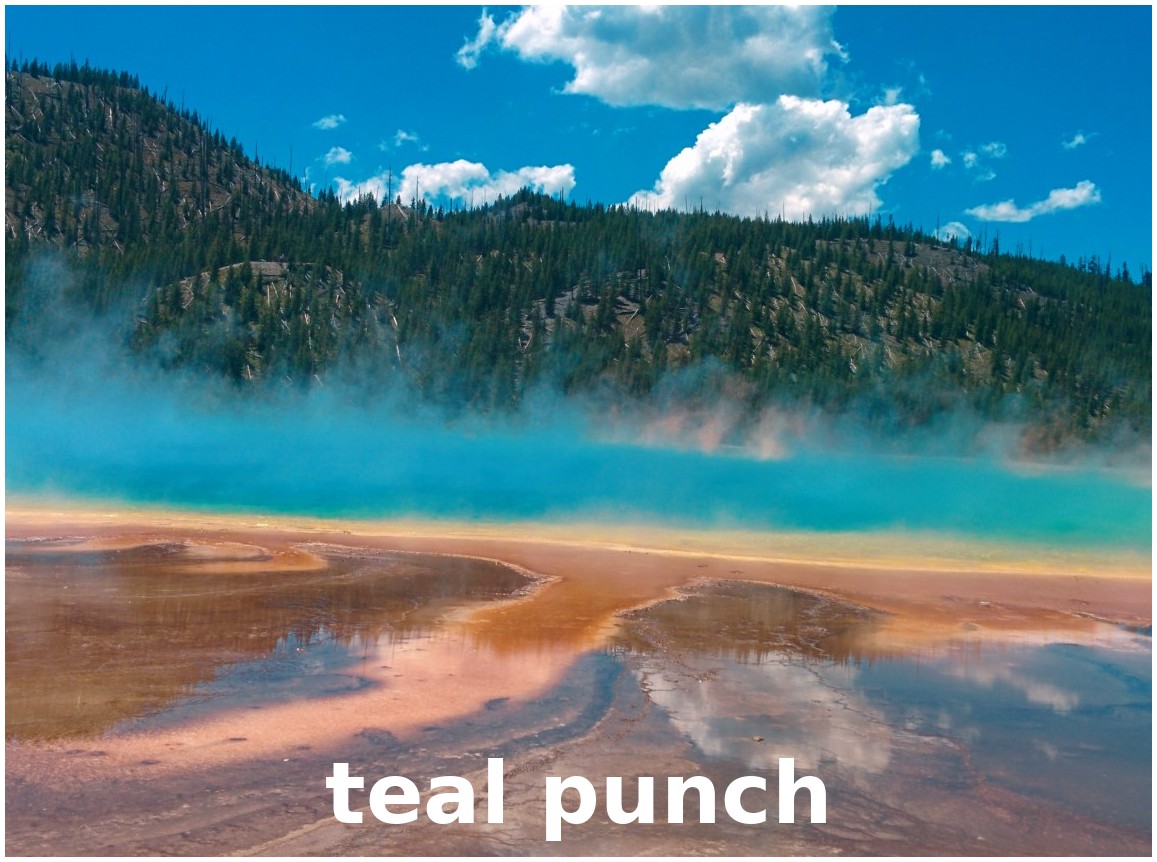
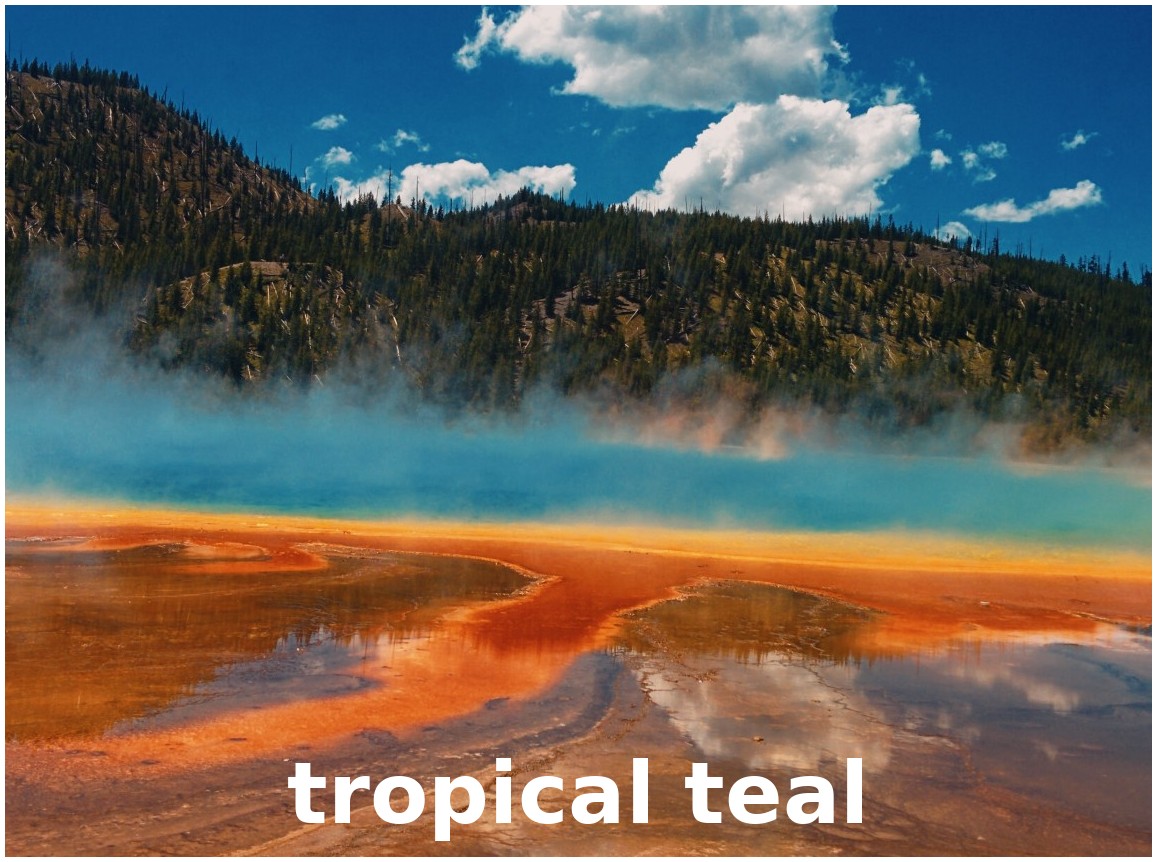
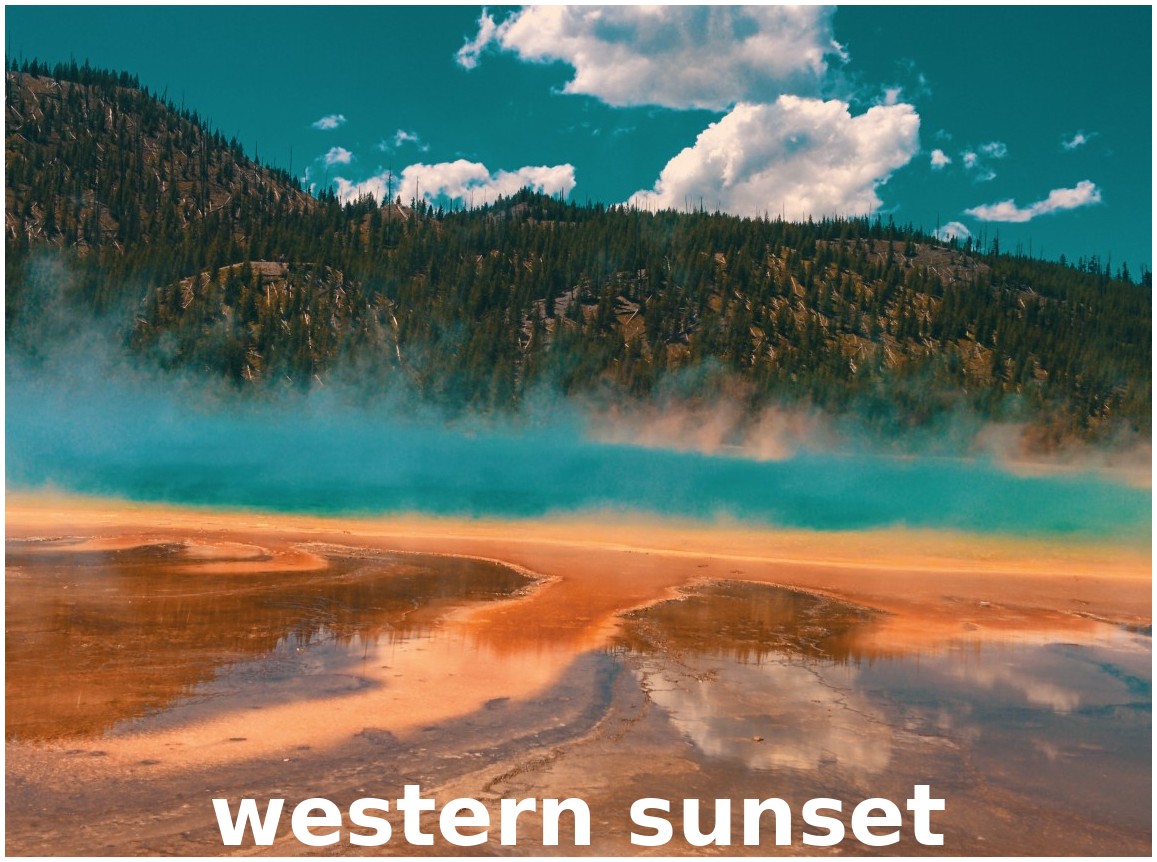
Utility & Correction

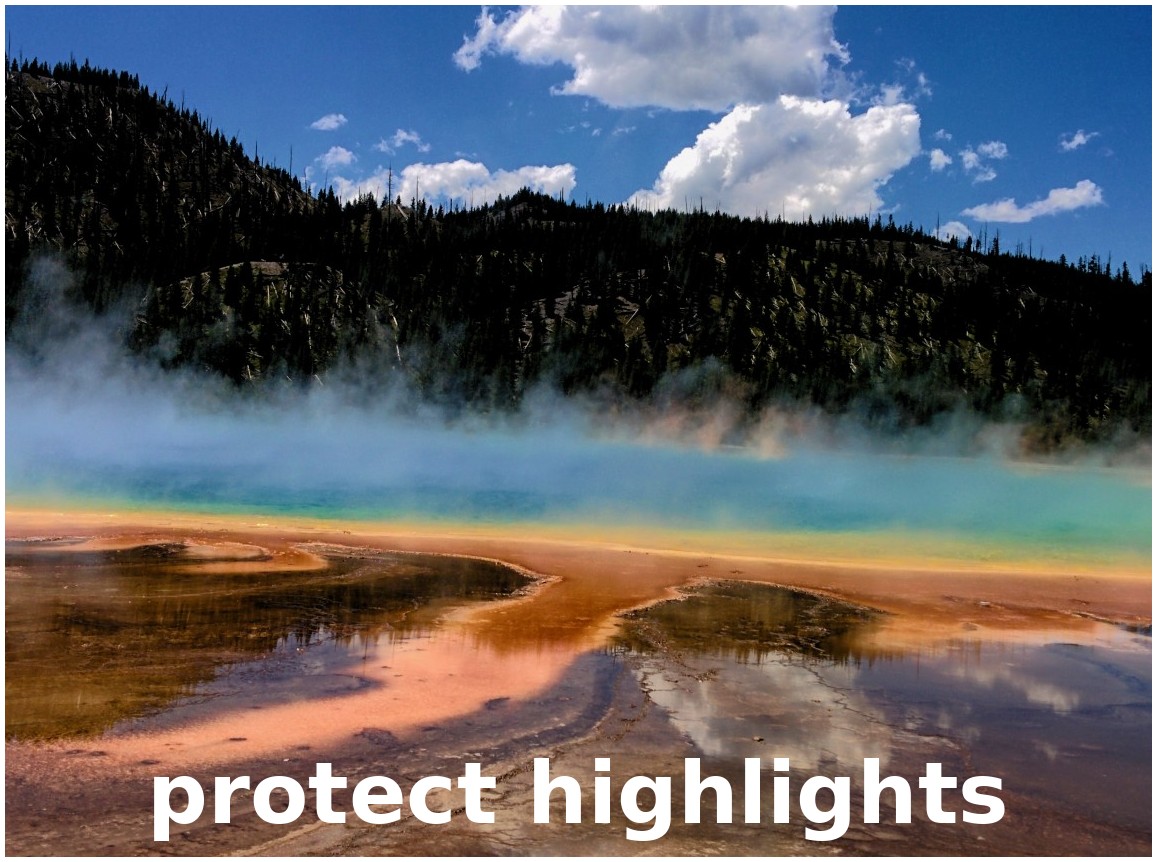
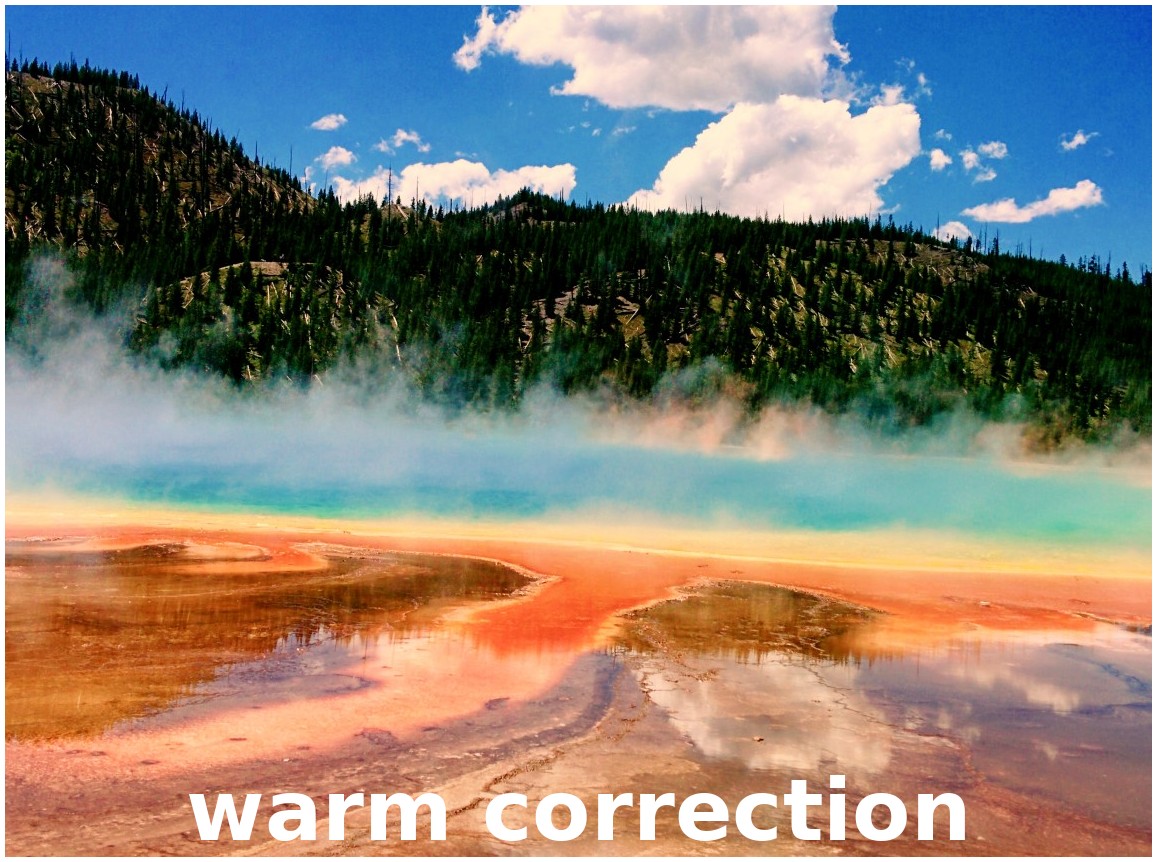
Vibrant & Colorful


Color Saturation
The Color Saturation effect adjusts the intensity and vibrancy of colors within the video. Increasing saturation can make colors more vivid and eye-catching, while decreasing it can create a more subdued, almost black-and-white appearance.
Property Name |
Description |
|---|---|
saturation |
|
saturation_B |
|
saturation_G |
|
saturation_R |
|
Color Shift
Shift the colors of an image up, down, left, and right (with infinite wrapping).
Each pixel has 4 color channels:
Red, Green, Blue, and Alpha (i.e. transparency)
Each channel value is between 0 and 255
The Color Shift effect simply “moves” or “translates” a specific color channel on the X or Y axis. Not all video and image formats support an alpha channel, and in those cases, you will not see any changes when adjusting the color shift of the alpha channel.
Property Name |
Description |
|---|---|
alpha_x |
|
alpha_y |
|
blue_x |
|
blue_y |
|
green_x |
|
green_y |
|
red_x |
|
red_y |
|
Crop
The Crop effect removes unwanted outer areas from the video frame, allowing you to focus on a particular part of the
shot, change the aspect ratio, or remove distracting elements from the edges of the frame. This effect is the
primary method for cropping a Clip in OpenShot. The left, right, top, and bottom key-frames can
even be animated, for a moving and resizing cropped area. You can leave the cropped area blank, or you can
dynamically resize the cropped area to fill the screen.
You can quickly add this effect by right-clicking a clip and choosing Crop. When active, blue crop handles appear in the video preview so you can adjust the crop visually.
Property Name |
Description |
|---|---|
bottom |
|
left |
|
right |
|
top |
|
x |
|
y |
|
resize |
|
Deinterlace
The Deinterlace effect is used to remove interlacing artifacts from video footage, which are commonly seen as horizontal lines across moving objects. This effect is essential for converting interlaced video (such as from older video cameras or broadcast sources) into a progressive format suitable for modern displays.
Property Name |
Description |
|---|---|
isOdd |
|
Denoise Image
The Denoise Image effect reduces visible video noise, grain, and color speckles. It is useful for low-light camera footage, noisy webcam clips, high-ISO photos, old video, compressed footage, and rendered images that have unwanted speckling.
For a quick start, drag Denoise Image onto a clip and preview the result. The default settings are designed to clean up common noise while keeping faces, text, edges, and fine details recognizable. If the image still looks too noisy, raise Strength. If the image starts to look too smooth, raise Detail.
Simple controls
Strength controls how much denoising is applied.
Detail protects edges and texture. Higher values keep more detail; lower values remove more speckles.
Color Noise targets red, green, and blue color speckles, which are common in dark video.
Most users can start with those three controls. The next controls are helpful when you want cleaner video without creating ghosting or smearing:
Temporal blends a small amount of information from the previous frame during normal playback. This can reduce dancing noise from frame to frame.
Motion Safety protects moving objects. Higher values are more cautious and reduce the chance of ghosting.
Response Curve changes denoise strength by brightness. By default, shadows are cleaned more strongly, midtones are balanced, and highlights are affected more lightly.
How it works
Denoise Image combines spatial denoising and conservative temporal denoising. Spatial denoising looks at the current frame and smooths small noisy variations while trying to preserve important edges. Temporal denoising compares neighboring frames and only blends when the image appears stable enough. When OpenShot detects a seek, scrub, frame jump, or still image, temporal history is reset automatically, so the effect falls back to the current frame only.
The effect also treats brightness and color differently. Dark areas usually contain more camera sensor noise, so the default response curve applies stronger cleanup in shadows. Bright areas usually need less denoising. Color speckles are reduced more aggressively than luma detail, which helps remove low-light chroma noise without turning the whole image into a blur.
Usage tips
For mild camera noise, use the default settings or raise Strength slightly.
For very noisy dark footage, raise Strength and Color Noise, then lower Detail only as much as needed.
For faces, text, hair, leaves, or detailed textures, keep Detail higher to avoid a smeared look.
For moving subjects, keep Motion Safety high and avoid pushing Temporal too far.
For still images or photos, Temporal has no useful history, so focus on Strength, Detail, Color Noise, and Response Curve.
Property Name |
Description |
|---|---|
strength |
|
detail |
|
temporal |
|
motion_safety |
|
color_noise |
|
response_curve |
|
Displacement Map
The Displacement Map effect uses a grayscale image or video to warp the current frame in the horizontal and vertical directions. This effect is also commonly called a distortion map, warp map, displace effect, or displacement effect. It is useful for heat haze, water ripples, refractive glass, mirage effects, animated distortion overlays, shockwave looks, and other stylized screen warps.
The map source is sampled for every pixel. Mid-gray is neutral and causes no movement. Darker and lighter areas shift pixels in opposite directions. A still image creates a fixed distortion pattern, while a video or animated map creates moving distortion over time. Transparent parts of the map smoothly fade back toward neutral displacement.
Usage Notes
Use a grayscale image or grayscale video for the most predictable results.
Use Map: Source to pick an imported file, image sequence, video clip, or even a transition image as the map.
Strength multiplies both the horizontal and vertical displacement.
Horizontal controls left/right warping as a percentage of the frame width.
Vertical controls up/down warping as a percentage of the frame height.
Brightness and Contrast reshape the map before displacement, which can make the warp subtler or more dramatic.
Map: Invert flips the direction driven by light and dark areas.
Replace Image is a debug preview that shows the processed map instead of the warped frame.
Property Name |
Description |
|---|---|
map_reader |
|
invert |
|
strength |
|
horizontal |
|
vertical |
|
brightness |
|
contrast |
|
replace_image |
|
Film Grain
The Film Grain effect adds a gentle moving texture to your video, similar to the tiny speckles you see in real film photography. This can make very clean digital footage feel warmer, more natural, or more cinematic. It can also help blend mixed footage together, especially when one clip looks too sharp or too smooth compared to the rest of your project.
If you are new to film grain, start small. A little grain can add life and texture without calling attention to itself. Stronger settings can be useful for vintage looks, music videos, horror scenes, documentary recreations, or footage that should feel like older 16mm or Super 8 film.
You can add Film Grain from the Effects tab, or right-click a clip and choose Look → Film → Film Grain to start with a preset: 35mm Fine, 35mm Classic, 35mm Gritty, 16mm Classic, Super 8, or High ISO. Presets only set the properties for you; all controls remain visible and editable.
Simple starting points:
Clean cinematic texture: try 35mm Fine, then lower
amountif it feels too visible.Classic film look: try 35mm Classic for a balanced grain pattern.
Punchy, gritty film look: try 35mm Gritty for heavier, more visible grain.
Older home-movie style: try Super 8, which uses larger, more active grain.
Low-light camera noise style: try High ISO, then adjust
color_amountto control how colorful the grain feels.
The grain is deterministic, which means the same settings render the same grain pattern each time. Change
seed when you want a different repeatable grain pattern on a clip.
Property Name |
Description |
|---|---|
amount |
|
size |
|
softness |
|
clump |
|
shadows |
|
midtones |
|
highlights |
|
color_amount |
|
color_variation |
|
evolution |
|
coherence |
|
seed |
|
Usage notes
Grain is easiest to judge while the video is playing, not on a single paused frame.
If faces or bright skies look too noisy, lower
highlightsoramount.If shadows look too clean compared to the rest of the image, raise
shadowsslightly.If the grain looks too digital or sharp, raise
softnessor lowercolor_variation.If the grain looks too busy during motion, lower
evolutionor raisecoherence.
Glow
The Glow effect creates a soft halo from the clip’s visible pixels. It can render either outside the subject for a classic outer glow, or along the inside edges for an inner glow. The effect uses the source alpha channel, so transparent PNGs, text, logos, and masked clips work especially well.
You can add Glow from the Effects tab, or right-click a clip and choose Look → Lighting → Glow to start with a preset: Soft White (a gentle neutral halo), Warm (a warm amber glow), Neon (a vivid colored glow), or Inner Glow (glow drawn inside the subject’s edges). Presets only set the properties for you; all controls remain visible and editable.
Property Name |
Description |
|---|---|
mode |
|
opacity |
|
blur_radius |
|
spread |
|
color |
|
Hue
The Hue effect adjusts the overall color balance of the video, changing the hues without affecting the brightness or saturation. This can be used for color correction or to apply dramatic color effects that transform the mood of the footage.
Property Name |
Description |
|---|---|
hue |
|
Lens Flare
The Lens Flare effect simulates bright light hitting your camera lens, creating glowing halos, colored rings and gentle glares over your footage. Reflections are automatically placed along a line from the light source toward the center of the frame. You can animate any property with keyframes to follow your action or match your scene.
Property Name |
Description |
|---|---|
x |
|
y |
|
brightness |
|
size |
|
spread |
|
tint_color |
|
Negative
The Negative effect inverts the colors of the video, producing an image that resembles a photographic negative. This can be used for artistic effects, to create a surreal or otherworldly look, or to highlight specific elements within the frame.
Object Mask
The Object Mask effect creates a detailed, animated mask around a subject that you identify. Instead of drawing a rectangular tracking box, you mark the subject with points or rectangles and OpenShot follows its visible outline through the clip. Use it to highlight a person or product, create a colored cutout or outline, or provide the Mask: Source for another effect such as Blur, Pixelate, or Color Grade.
Object Mask runs locally in OpenShot and does not require a ComfyUI server. OpenShot uses an EfficientSAM model to turn your prompts into a mask on selected frames, then uses Cutie models to propagate that mask through the video. These OpenCV-friendly model packages are maintained in the OpenShot ONNX repository. The model files are downloaded the first time you use the effect and are stored for later use.
Creating an Object Mask
Drag Object Mask from the Effects panel onto a video clip.
In the initialization dialog, choose a Quality level and download the Object Mask model files if they are not installed. Higher quality generally takes more processing time and memory.
Leave Processing Device set to CPU for maximum compatibility, or select an available GPU option. GPU (Auto) falls back to CPU when a supported GPU backend is unavailable.
Click Select Points. On a frame where the subject is clearly visible, add at least one positive point or rectangle on the subject. Add negative points or rectangles over nearby background or unwanted objects when they help separate the subject.
Enable the mask preview to check the selected area. Add prompts on other frames if the subject changes greatly, becomes hidden, or the initial selection is ambiguous.
Click Process Effect. Processing analyzes the clip and creates the animated mask data used by the effect. Cancel the job if you need to revise the prompts or settings.
After processing, select the Object Mask effect to change its fill and outline. To apply another effect only inside the detected subject, add that effect to the same clip and select Object Mask under its Mask: Source property. Use Mask: Invert on the other effect when you want to modify the background instead.
Object Mask and Advanced AI
Object Mask is the quickest built-in workflow when you need a reusable mask inside an OpenShot project. The similar ComfyUI Mask…, Blur…, and Highlight… workflows generate new media files through a separately installed ComfyUI server and provide more customizable AI pipelines. See Tracking (Mask, Blur, Highlight) for those Advanced AI workflows.
Properties
Property Name |
Description |
|---|---|
draw_mask |
|
mask_color |
|
mask_alpha |
|
stroke_color |
|
stroke_alpha |
|
stroke_width |
|
protobuf_data_path |
|
Object Detector
The Object Detector effect automatically finds and follows known classes of objects throughout a video. Depending on the selected YOLO model, these can include people, vehicles, animals, and many common objects. OpenShot stores each detection as a tracked object, allowing you to display boxes and labels, customize individual detections, parent another clip to a detected object, or use detections as the Mask: Source for another effect.
Unlike Object Mask, Object Detector does not require you to mark a particular subject first. It scans the clip for all object classes known by the selected model. Use Object Detector when you want automatic discovery or several tracked objects; use Object Mask when you need a precise subject silhouette selected with your own prompts.
Creating Object Detections
Drag Object Detector from the Effects panel onto a video clip.
Choose a YOLO Version and download its model and class-name files if needed. Nano models are normally the fastest starting point; larger models can improve detection at the cost of processing time and memory.
Leave Processing Device set to CPU for maximum compatibility, or select an available GPU option. GPU (Auto) falls back to CPU when necessary.
Click Process Effect. OpenShot analyzes the clip and creates the tracked-object data. Processing can take time for long or high-resolution clips and can be canceled.
Select the processed effect and adjust its Properties. Use Class Filter and Confidence Threshold to reduce the visible results, then select an individual object to customize its box, label, mask, or styling.
Class Filters & Confidence
Enter one or more comma-separated names in Class Filter, such as person, car, to display only those
classes. Class names depend on the selected model and its class-name file. Leave the field empty to display all
detected classes. Raise Confidence Threshold to hide uncertain detections and reduce false positives;
lower it when the model is missing a partially hidden or difficult subject.
Object Detector can also produce segmentation masks when the selected YOLO model supports them. Those masks can be displayed on the clip or used by another effect. Models that only output bounding boxes still work as rectangular mask sources.
How Parenting Works
Once you have tracked objects, you can “parent” other Clips to them. This means that the second clip, which could be a graphic, text, or another video layer, will now follow the tracked object as if it’s attached to it. If the tracked object moves to the left, the child clip moves to the left. If the tracked object grows in size (gets closer to the camera), the child clip also scales up. For parented clips to appear correctly, they must be on a Track higher than the tracked objects, and set the appropriate Scale property.
See Clip Parent.
Properties
Property Name |
Description |
|---|---|
class_filter |
|
confidence_threshold |
|
display_box_text |
|
display_boxes |
|
selected_object_index |
|
draw_box |
|
draw_mask |
|
draw_text |
|
box_id |
|
x1 |
|
y1 |
|
x2 |
|
y2 |
|
delta_x |
|
delta_y |
|
scale_x |
|
scale_y |
|
rotation |
|
visible |
|
stroke |
|
stroke_width |
|
stroke_alpha |
|
background_alpha |
|
background_corner |
|
background |
|
mask_color |
|
mask_alpha |
|
Outline
The Outline effect adds a customizable border around images or text within a video frame. It works by extracting the image’s alpha channel, blurring it to generate a smooth outline mask, and then combining this mask with a solid color layer. Users can adjust the outline’s width as well as its color components (red, green, blue) and transparency (alpha), allowing for a wide range of visual styles. This effect is ideal for emphasizing text, creating visual separation, and adding an artistic flair to your videos.
Property Name |
Description |
|---|---|
width |
|
red |
|
green |
|
blue |
|
alpha |
|
Pixelate
The Pixelate effect increases or decreases the size of the pixels in the video, creating a mosaic-like appearance. This can be used to obscure details (such as faces or license plates for privacy reasons), or as a stylistic effect to evoke a retro, digital, or abstract aesthetic.
Property Name |
Description |
|---|---|
bottom |
|
left |
|
pixelization |
|
right |
|
top |
|
Shadow
The Shadow effect creates a soft drop shadow from the clip’s visible pixels. It uses the source alpha channel, blurs that silhouette, and offsets it by a distance and angle before drawing the original image on top. This is useful for giving text, logos, overlays, and cut-out subjects more separation from the background.
You can add Shadow from the Effects tab, or right-click a clip and choose Look → Lighting → Shadow to start with a preset: Subtle (a light near shadow), Soft (a diffused medium shadow), Strong (a bold, high-opacity shadow), or Long (a distant, elongated shadow). Presets only set the properties for you; all controls remain visible and editable.
Property Name |
Description |
|---|---|
opacity |
|
blur_radius |
|
spread |
|
distance |
|
angle |
|
color |
|
Shift
The Shift effect moves the entire image in different directions (up, down, left, and right with infinite wrapping), creating a sense of motion or disorientation. This can be used for transitions, to simulate camera movement, or to add dynamic motion to static shots.
Property Name |
Description |
|---|---|
x |
|
y |
|
Spherical Projection
The Spherical Projection effect flattens 360° or fisheye footage into a normal rectangular view, or generates fisheye output. Steer a virtual camera with yaw, pitch, and roll. Control the output view with FOV. Choose the input type (equirect or one of the fisheye models), pick a projection mode for the output, and select a sampling mode that balances quality and speed. This is ideal for keyframed “virtual camera” moves inside 360° clips and for converting circular fisheye shots.
Property Name |
Description |
|---|---|
yaw |
|
pitch |
|
roll |
|
fov |
|
in_fov |
|
projection_mode |
|
input_model |
|
invert |
|
interpolation |
|
Usage notes
Flatten a fisheye clip to a normal view: Set Input Model to the correct fisheye type, set In FOV to your lens coverage (often 180), choose Projection Mode = Sphere or Hemisphere, then frame with Yaw/Pitch/Roll and Out FOV.
Reframe an equirect clip: Set Input Model = Equirectangular, pick Sphere (full) or Hemisphere (front/back). Invert on equirect is equivalent to yaw +180 and does not mirror.
Create a fisheye output: Choose one of the Fisheye projection modes (2..5). Out FOV controls disk coverage (180 gives a classic circular fisheye).
If the image looks mirrored, turn Invert off. If you need the back view on equirect, use Invert or add +180 to Yaw.
If the output looks soft or aliased, reduce Out FOV or increase export resolution. Auto interpolation adapts the filter to scaling.
Stabilizer
The Stabilizer effect reduces unwanted shake and jitter in handheld or unstable video footage, resulting in smoother, more professional-looking shots. This is particularly useful for action scenes, handheld shots, or any footage where a tripod was not used.
Property Name |
Description |
|---|---|
zoom |
|
Timer
The Timer effect renders a styled time overlay on top of a clip. It can count up, count down, display a wall-clock style timer, show timecode, or show frame numbers. Use it for sports clips, tutorials, races, countdowns, progress timers, timecode burn-ins, or any clip that needs an on-screen timer.
By default, Timer uses Source Time, so speed changes and time keyframes on the parent clip also affect the timer. For example, if a clip is slowed down, the timer slows down with it. Switch to Clip Time when you want the timer to follow the clip’s timeline position instead.
Use Font Name, Font Size, text color, stroke, and background controls to style the timer. Use Gravity to choose the starting position, then adjust X Offset (%) and Y Offset (%) to fine-tune the placement.
Mode controls what kind of timer is displayed.
Countdown Duration controls count-down length. Set it to
0to count down from the clip’s duration.Start Time offsets count-up, clock, timecode, frame, and count-down values.
Gravity places the timer in one of nine positions on the frame.
X Offset (%) and Y Offset (%) move the timer by a percentage of the frame size.
Font, color, stroke, background, and opacity controls can be keyframed for animated timer styles.
Property Name |
Description |
|---|---|
background |
|
background_alpha |
|
background_corner |
|
background_padding |
|
clamp |
|
color |
|
end_time |
|
font_alpha |
|
font_name |
|
font_size |
|
format |
|
gravity |
|
mode |
|
prefix |
|
show_background |
|
start_time |
|
stroke |
|
stroke_width |
|
suffix |
|
time_source |
|
x_offset |
|
y_offset |
|
Tracker
The Tracker effect allows for the tracking of a specific object or area within the video frame across multiple frames.
This can be used for motion tracking, adding effects or annotations that follow the movement of objects, or for
stabilizing footage based on a tracked point. When tracking an object, be sure to select the entire object, which is
visible at the start of a clip, and choose one of the following Tracking Type algorithms. The tracking algorithm
then follows this object from frame to frame, recording its position, scale, and sometimes rotation.
The tracked box can also be used as a live mask source for any other effect. For example, add a Tracker effect, draw a box around a face or license plate, add a Blur or Pixelate effect to the same clip, and set that effect’s Mask: Source to the tracker. The blur or pixelation is then limited to the tracked box and updates in the video preview as you adjust it.
Tracker boxes are not limited to moving video. You can add a Tracker effect to a static photo, use its box as the
Mask: Source for another effect, and keyframe the box position or size if the masked region should move
over time. Select the Tracker effect, then use the video preview transform handles to move or resize the box; OpenShot
updates the box properties such as x1, y1, x2, and y2 so the masked effect follows the adjusted region.
Tracking Type
KCF: (default) A blend of Boosting and MIL strategies, employing correlation filters on overlapping areas from ‘bags’ to accurately track and predict object movement. It offers higher speed and accuracy and can stop tracking when the object is lost but struggles to resume tracking after losing the object.
MIL: Improves upon Boosting by considering multiple potential positives (‘bags’) around the definite positive object, increasing robustness to noise and maintaining good accuracy. However, it shares the Boosting Tracker’s drawbacks of low speed and difficulty in stopping tracking when the object is lost.
BOOSTING: Utilizes the online AdaBoost algorithm to enhance the classification of tracked objects by focusing on incorrectly classified ones. It requires setting the initial frame and treats nearby objects as background, adjusting to new frames based on maximum score areas. It’s known for accurate tracking but suffers from low speed, noise sensitivity, and difficulty stopping tracking upon object loss.
TLD: Decomposes tracking into tracking, learning, and detection phases, allowing for adaptation and correction over time. While it can handle object scaling and occlusions reasonably well, it may behave unpredictably, with instability in tracking and detection.
MEDIANFLOW: Based on the Lucas-Kanade method, it analyzes forward and backward movement to estimate trajectory errors for real-time position prediction. It’s fast and accurate under certain conditions but can lose track of fast-moving objects.
MOSSE: Utilizes adaptive correlations in Fourier space to maintain robustness against lighting, scale, and pose changes. It boasts very high tracking speeds and is better at continuing tracking after loss, but it may persist in tracking an absent object.
CSRT: Employs spatial reliability maps to adjust filter support, enhancing the ability to track non-rectangular objects and perform well even with object overlaps. However, it is slower and may not operate reliably when the object is lost.
How Parenting Works
Once you have a tracked object, you can “parent” other Clips to it. This means that the second clip, which could be a graphic, text, or another video layer, will now follow the tracked object as if it’s attached to it. If the tracked object moves to the left, the child clip moves to the left. If the tracked object grows in size (gets closer to the camera), the child clip also scales up. For parented clips to appear correctly, they must be on a Track higher than the tracked objects, and set the appropriate Scale property.
See Clip Parent.
Properties
Property Name |
Description |
|---|---|
draw_box |
|
box_id |
|
x1 |
|
y1 |
|
x2 |
|
y2 |
|
delta_x |
|
delta_y |
|
scale_x |
|
scale_y |
|
rotation |
|
visible |
|
stroke |
|
stroke_width |
|
stroke_alpha |
|
background_alpha |
|
background_corner |
|
background |
|
Wave
The Wave effect distorts the image into a wave-like pattern, simulating effects like heat haze, water reflections, or other forms of distortion. The speed, amplitude, and direction of the waves can be adjusted.
Property Name |
Description |
|---|---|
amplitude |
|
multiplier |
|
shift_x |
|
speed_y |
|
wavelength |
|
Audio Effects
Audio effects modify the waveforms and audio sample data of a clip. Below is a list of audio effects, and their properties. Often it is best to experiment with an effect, entering different values into the properties, and observing the results.
Compressor
The Compressor effect in audio processing reduces the dynamic range of the audio signal, making loud sounds quieter and quiet sounds louder. This creates a more consistent volume level, useful for balancing the loudness of different audio sources or for achieving a particular sound characteristic in music production.
Property Name |
Description |
|---|---|
attack |
|
bypass |
|
makeup_gain |
|
ratio |
|
release |
|
threshold |
|
Delay
The Delay effect adds an echo to the audio signal, repeating the sound after a short delay. This can create a sense of space and depth in the audio, and is commonly used for creative effects in music, sound design, and audio post-production.
Property Name |
Description |
|---|---|
delay_time |
|
Distortion
The Distortion effect intentionally clips the audio signal, adding harmonic and non-harmonic overtones. This can create a gritty, aggressive sound characteristic of many electric guitar tones and is used for both musical and sound design purposes.
Property Name |
Description |
|---|---|
distortion_type |
|
input_gain |
|
output_gain |
|
tone |
|
Echo
The Echo effect, similar to delay, repeats the audio signal at intervals, but with a focus on creating a distinct repetition of sound that mimics natural echoes. This can be used to simulate acoustic environments or for creative sound effects.
Property Name |
Description |
|---|---|
echo_time |
|
feedback |
|
mix |
|
Expander
The Expander effect increases the dynamic range of audio, making quiet sounds quieter and leaving loud sounds unaffected. This is the opposite of compression and is used to reduce background noise or increase the dynamic impact of audio.
Property Name |
Description |
|---|---|
attack |
|
bypass |
|
makeup_gain |
|
ratio |
|
release |
|
threshold |
|
Noise
The Noise effect adds random, equal-intensity signals across the frequency spectrum to the audio, simulating the sound of white noise. This can be used for sound masking, as a component in sound design, or for testing and calibration purposes.
Property Name |
Description |
|---|---|
level |
|
Parametric EQ
The Parametric EQ (Equalizer) effect allows for precise adjustments to the volume level of specific frequency ranges in the audio signal. This can be used for corrective measures, such as removing unwanted tones, or creatively, to shape the tonal balance of the audio.
Property Name |
Description |
|---|---|
filter_type |
|
frequency |
|
gain |
|
q_factor |
|
Robotization
The Robotization effect transforms the audio to sound mechanical or robotic, by applying a combination of pitch modulation and synthesis techniques. This effect is widely used for character voices in media, creative music production, and sound design.
Property Name |
Description |
|---|---|
fft_size |
|
hop_size |
|
window_type |
|
Whisperization
The Whisperization effect transforms the audio to mimic a whispering voice, often by filtering out certain frequencies and adding noise. This can be used for artistic effects in music, sound design for film and video, or in audio storytelling to convey secrecy or intimacy.
Property Name |
Description |
|---|---|
fft_size |
|
hop_size |
|
window_type |
|
For more info on key frames and animation, see Animation.